add to wishlist
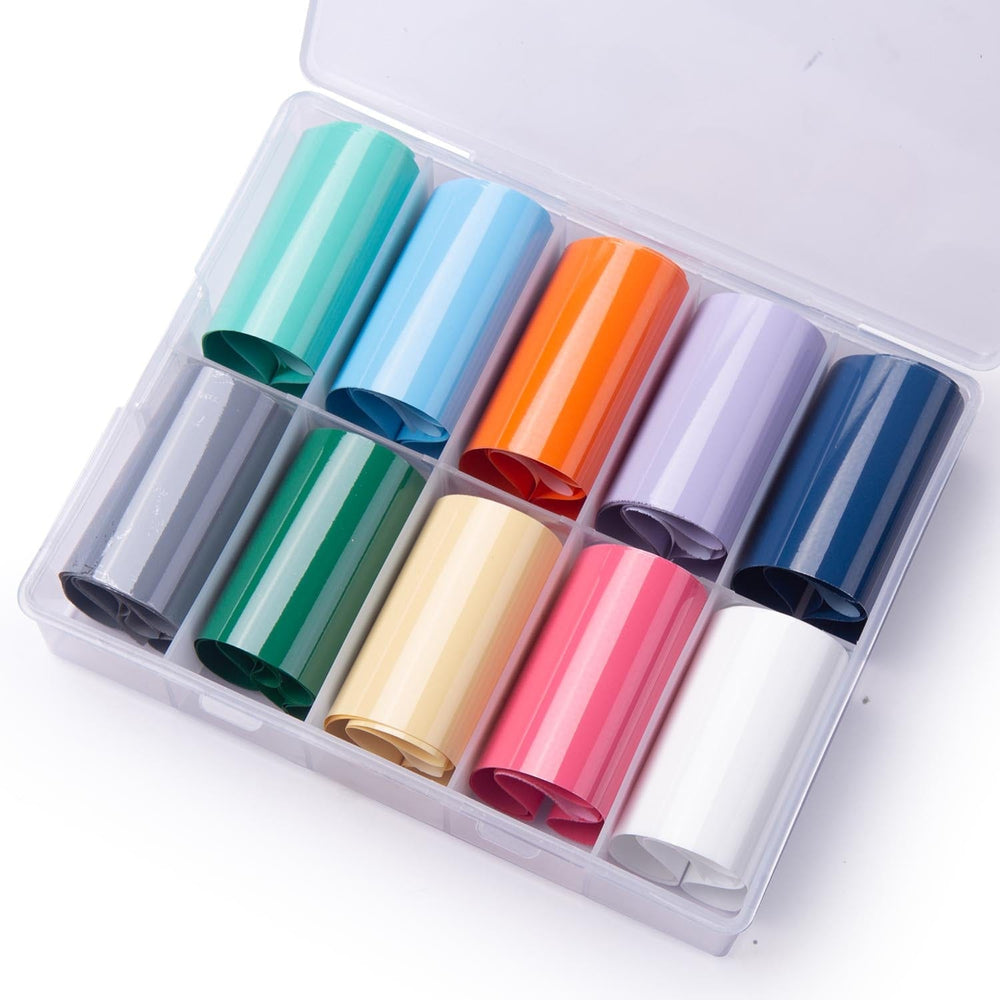
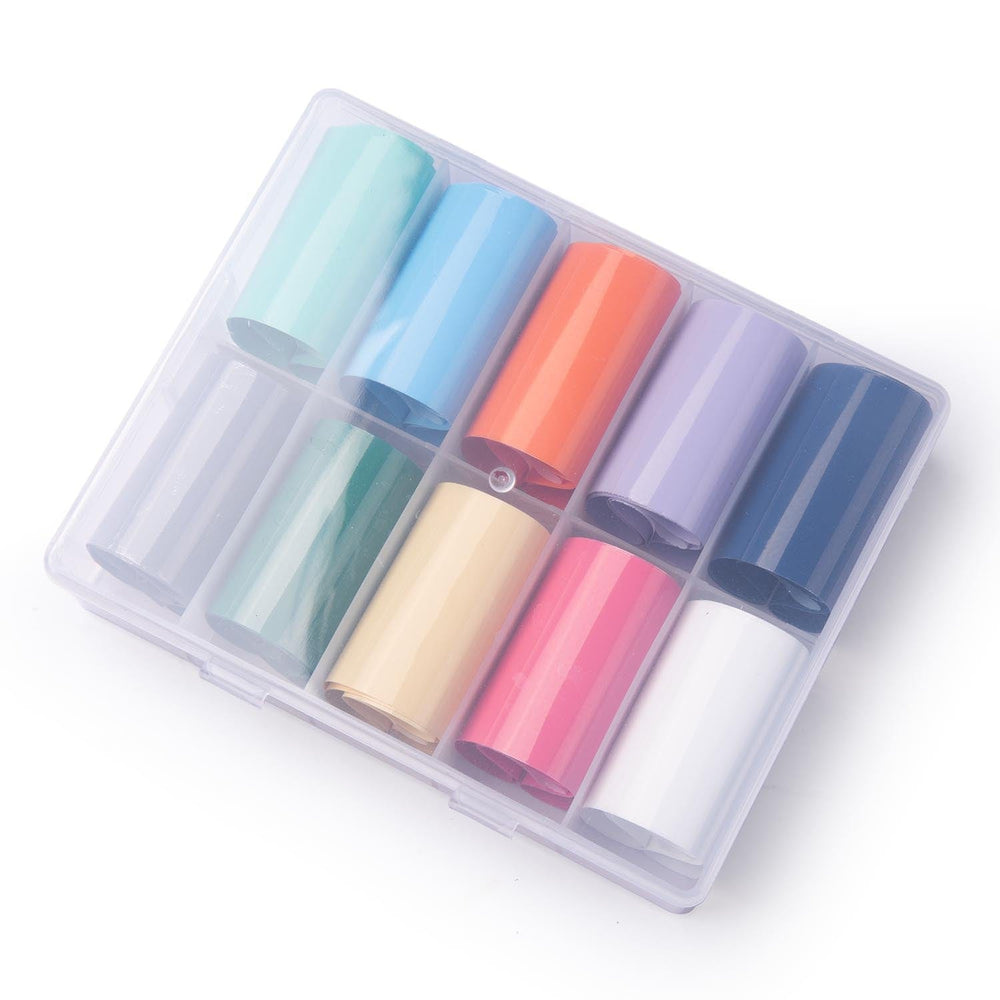
10pc Cream Colored Nail Art Foil Sheets Set
FEATURED VIDEO
Description
Details
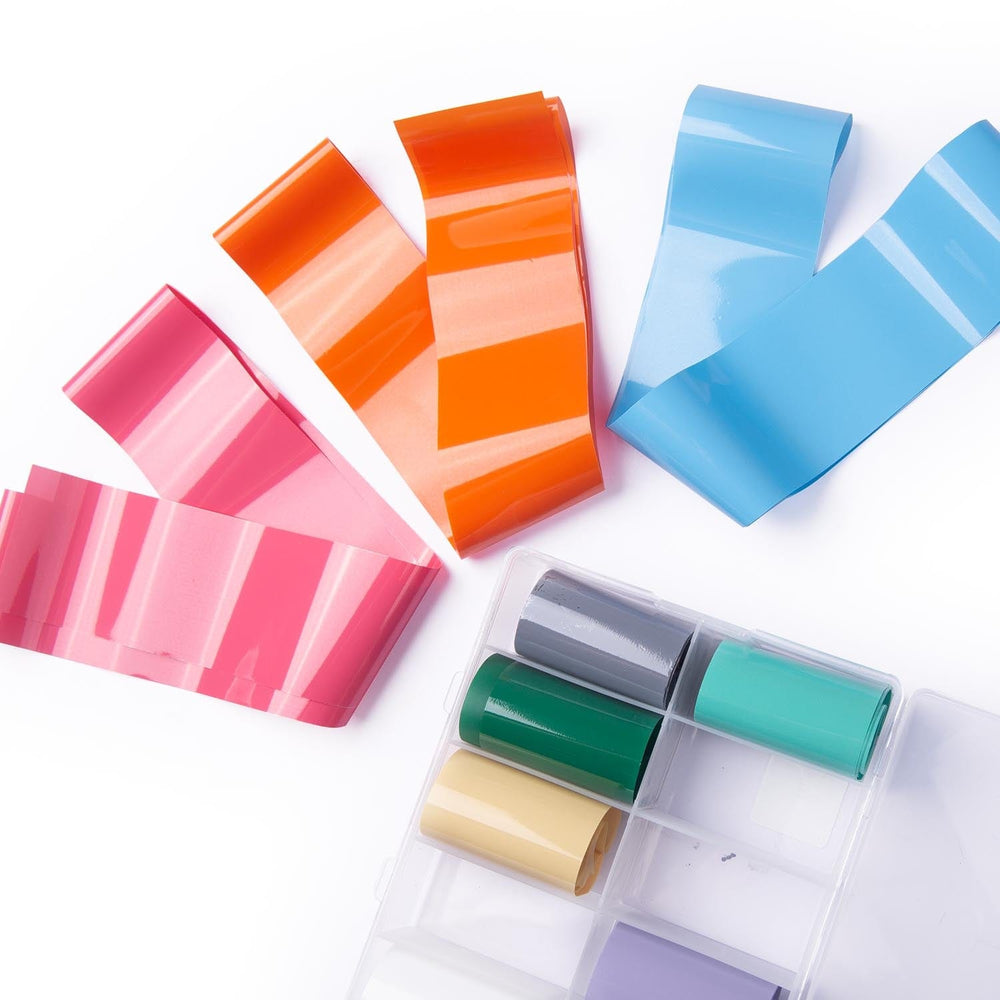
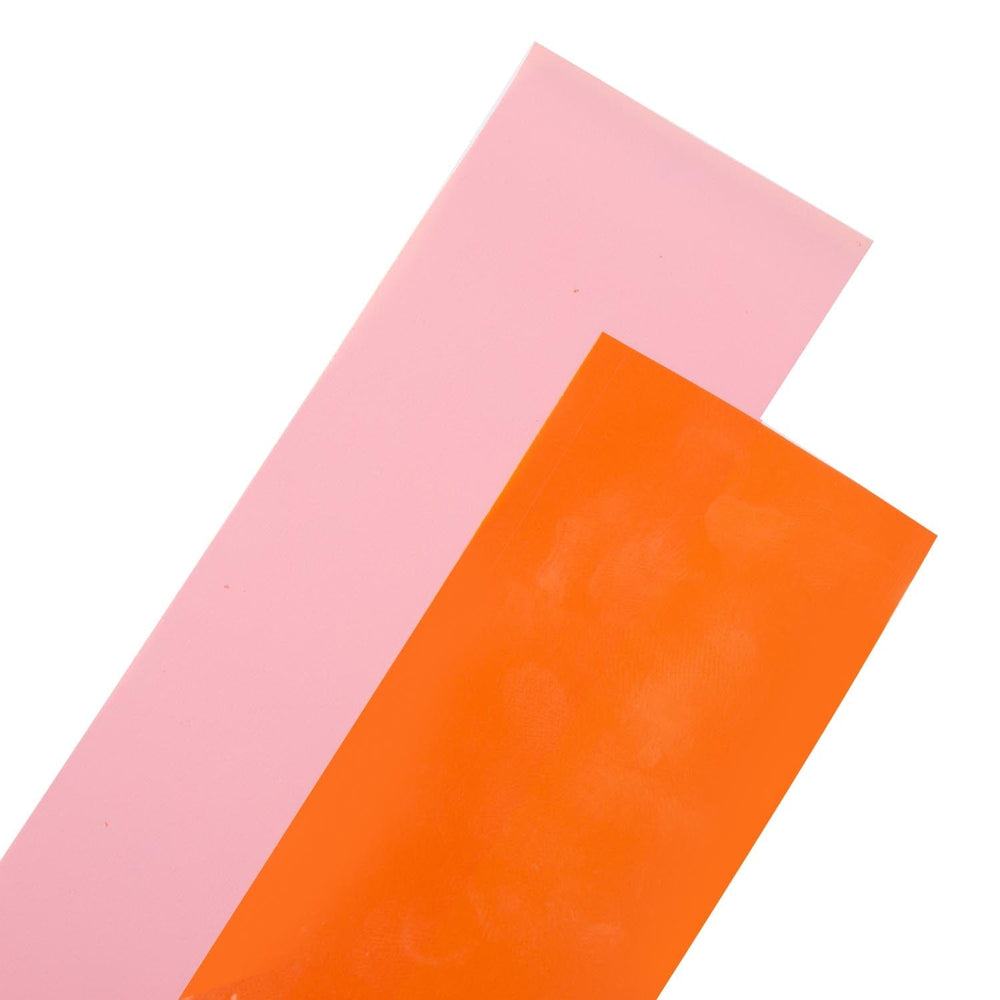
Achieve a soft subtle shine on your nails with our Cream Colored Foil Sheets! This set comes in 10 beautiful shades, each featuring a refined glossy sheen. Nail foils are easy to use and perfect for adding stunning details to your manicures. This set gives your nails a chic and polished look.
Directions:
1. Prep your nail foil sheet by cutting nail sized strips with scissors.
2. Apply a base coat to your nails and let dry.
3. Apply a thin coat of nail foil glue to the nail and allow it to dry until the adhesive turns from white to clear and is tacky to the touch.
4. Take one pre-cut foil piece and apply the foil design-side facing up onto the nail. Firmly rub the foil design to the nail.
5. Repeat steps 3-4 until your desired look is created. Top off with our No Smudge Top Coat to protect the foil from crinkling.
*Nail glue not included*
"5 simple steps" for nail stamping
1


Paint a generous amount of stamping polish onto a design.
2

Scape off excess polish with the edge of a scraper card, holding it at a 45 degree angle.
3

Quickly, roll the stamper head onto the design.
4

Transfer the stamp onto your nail, using a smooth rolling motion.
5

Finish with a layer of Smudge Free Top Coat