✨ Can You Stamp Over Gel? A Guide to Nail Stamping Over Gel Manicures✨
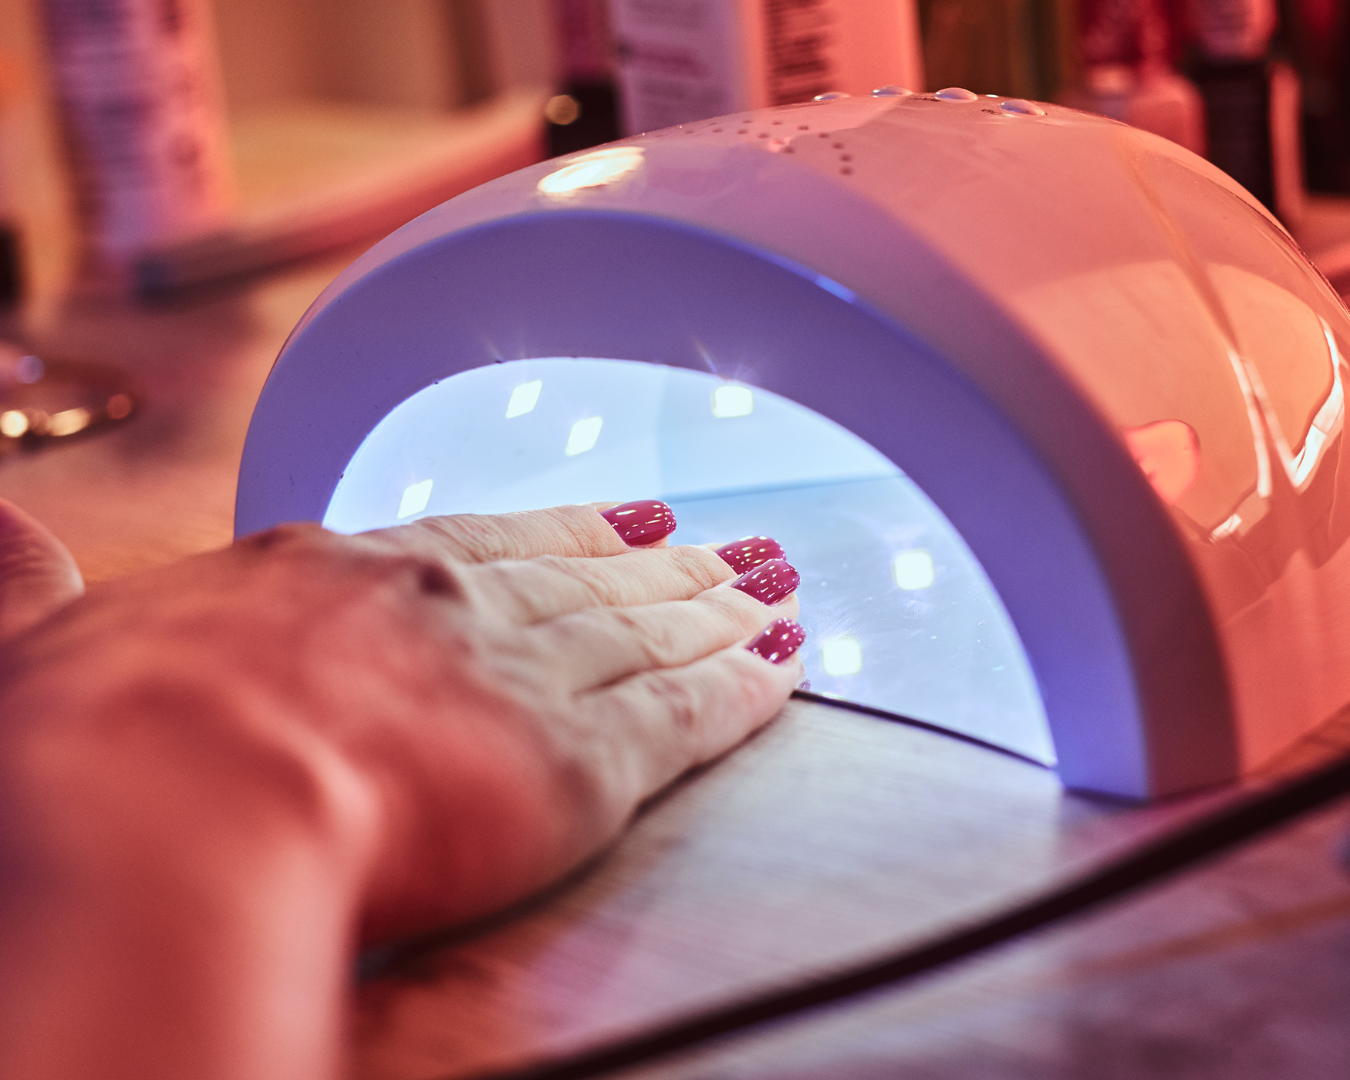
Table of Contents
- Pro-Tip: Change Out Your Nail Art As Many Times as You Like with DIY Nail Stamping
- Can You Stamp Over Gel Polish?
- Benefits of Nail Stamping Over a Gel Manicure
- What You’ll Need
- How to Do Nail Stamping With a Gel Manicure
- How to Stamp with a DIY Gel Manicure at Home
- How to Stamp Over a Salon Gel Manicure
- Additional Questions
- Does Nail Stamping Work with Gel Polish?
- What Polishes are Best for Nail Stamping?
Gel manicures are popular for a reason. They’re long-lasting and glossy, offering a flawless look for weeks. We want to let you in on a pro-tip: Just because you’re wearing a gel manicure doesn’t mean you have to stick with the same nail art until the gel chips off. Sometimes you might want to change up your nail look to match your outfits and mood.
If you’re the type of person who loves to wear customizable nail art but also wants a manicure that’s durable and long lasting, try nail stamping over your gel!
Pro-Tip: Do Nail Stamping at Home to Wear Multiple Nail Looks with One Manicure
What does this mean? This means you could get a plain colored gel based manicure at a salon (or DIY if you have the supplies), then stamp over your gel manicure at home to customize your nail art with regular stamping polish and stamping plates. After stamping, just finish your stamped nail art with a regular top coat, wear it until you’re tired of the design, then wipe it off with nail polish remover and repeat. Since gel manicures require lots of soaking time with 100% acetone, you can remove your stamping polish designs with a simple swipe of nail polish remover.
Can You Stamp Over Gel Polish?
Yes, absolutely! Nail stamping over a gel manicure combines the best of both worlds, offering the resilience and shine of a gel manicure with the creative freedom of nail stamping. Once your gel base has been cured under a UV or LED lamp, you’ll have a long-lasting canvas for customizing in whatever style you like.
Gel polish provides a smooth, even base, great for stamping intricate details and patterns. Plus, if you use a regular top coat over your stamps instead of curing it in with a gel top cop coat, you’ll be able to change your designs as often as you like while still maintaining your plain gel manicure.
This method not only elevates the durability of your nail art but also allows for endless creativity, making it a preferred choice for those who want to frequently update their nail art without compromising on quality.
Benefits of Nail Stamping Over a Gel Manicure
- Gel manicures are long-lasting and durable
- You can still pamper yourself at the salon while saving money on the nail art
- Change your nail designs whenever you feel like it
- You get to customize your nail art without relying on a technician
- Remove the art whenever you want. (No need to wear a seasonal look after the holiday is over.)
What Do You Need to Stamp Over Gel? 🎒
To do nail stamping over a gel polish manicure, you’ll need:
- Nail stamping plates with your desired designs
- A silicone nail stamper
- A scraper card
- Stamping polish (Ensure it's opaque enough to stand out over your base color)
- Tape, lint roller, or Sticky Stamper Station (for cleaning your stamper head)
- 100% Acetone
- Regular Nail Polish Remover
- Cotton rounds wipes for prep and cleanup
If doing your own gel manicure at home, also include:
- Gel polishes (base, color, and top coat)
- UV or LED lamp
How Do You Do Nail Stamping with a Gel Manicure?
Stamping over gel involves a few key steps to ensure your design comes out looking crisp and stays put. Here’s a quick guide to get you started.

Start here if doing your own gel manicure at home. If you’re getting your gel manicure base color done at a salon, skip steps 1-3:
1. Prep Your Nails: Start with clean, buffed nails and apply a base coat of gel polish. Cure it under a UV/LED lamp according to the polish instructions.
2. Apply Your Color: Choose your favorite gel polish color as the base and apply it to your nails. Cure again. This will be the backdrop for your stamping masterpiece!
3. Apply Gel Top Coat: Apply a wipe-type gel top coat over each nail and cure according to instructions. Wipe off the inhibition layer with rubbing alcohol.
Start Here If You Went to the Salon for Your Gel Base Manicure:
4. Stamp with Stamping Polish: Apply stamping polish to your chosen design on the stamping plate. Use a scraper card to remove excess polish, and then press your stamper onto the design to pick it up. Gently roll or press the stamper onto your gel-polished nail, transferring the design.
5. Finish with Regular Top Coat: Once you’re happy with your stamped design, lock in your design with regular top coat (not gel). We recommend Smudge Free Top Coat, our best-selling top coat that ensures your stamping designs won’t get smudged.
6. Remove Designs & Repeat: When you're ready to change your nail art designs, simply wipe your stamps off with nail polish remover and a cotton round. (Try not to swipe too many times so that you don’t dissolve the gel polish underneath.) Repeat the process on all nails, then restamp new designs to change up your style.
Additional Questions:
Nail Polish Remover vs Acetone
You’ll likely hear us recommending 100% acetone over and over again on social media or in our weekly live sessions. At the heart of it, acetone is a powerful, fast-acting solvent that effortlessly dissolves nail polish, making it a go-to for those who value efficiency in their beauty routine. Acetone is powerful enough to cut through oils, which is essential for cleaning your nail stamping plates. On the other hand, nail polish remover, while it may contain acetone, often includes additional ingredients designed to nourish and protect your nails, such as oils, scents, and vitamins. Though nail polish removers are formulated to help with skincare, the additives aren’t great for cleaning your nail products.
In the case of stamping over gel, where we want to make sure we don’t damage the gel polish underneath our nail stamping designs, using a nail polish remover is a better option since it’s a weaker formula and won’t cut through the gel polish as strongly.
Acetone:
- Powerful Solvent: Better for cleaning nail tools. Effectively dissolves nail polish, gel polish, dip powder, acrylics, and more.
- Efficiency: Ideal for those who frequently change their nail polish and need a fast-acting solution.
- Considerations: Can be drying to the nails and cuticles, so it's best used with additional nail care routines to maintain moisture.
Nail Polish Remover:
- Gentler Formula: Often acetone-based but includes nourishing ingredients like oils, fragrances, and vitamins.
- Balanced Care: Designed to remove nail polish while also protecting nail health and moisture.
Does Nail Stamping Work with Gel Polish?
Some gel polishes can be used with nail stamping; however, results will vary. Gel polishes are commonly very thick, and they’re often too thick for filling up the intricate details in a nail stamping plate.
We recommend sticking to stamping polishes, which are particularly designed for nail stamping. They will almost always be formulated to dry quickly and are made with high levels of pigmentation for bold, crisp designs, even in the tiniest details.
If you’re willing to experiment with nail stamping with gel polishes, here are a few things to keep in mind:
- Preparation is Key: Just like with regular stamping, start with clean, prepped nails. Apply a base coat and cure it under a UV or LED lamp according to the polish instructions.
- Choose the Right Gel Polish: Some gel polishes are thicker than others, which can be beneficial for stamping. You want a polish that's pigmented enough to show up well over your base color, but you don’t want a gel polish that’s too thick to seep into the etchings of your plate.
- Quick Transfer: After applying gel polish to the stamping plate, use your stamper to pick up the design quickly. Gel polish doesn’t dry in the air, but it’s easier to work with when it’s not too spread out or overly settled. Keep in mind that gel polish often comes with a self-leveling formula, so curing quickly will help harden the gel before it starts to spread.
- Cleanup Quickly: If you have any gel polish on your plate, make sure to keep it away from your UV lamp so that it doesn’t harden onto your plate and ruin the designs.
What Polishes Are Best for Nail Stamping? 🏆
The best polishes for nail stamping are usually those specifically formulated for nail stamping. These polishes are thicker and more pigmented than regular polish, ensuring your designs are bold and opaque.
For stamping over gel, you’ll want to stick with traditional stamping polishes or specially formulated stamping gel polishes that require curing.
Here are a few tips for choosing stamping polishes to use over your gel manicure:
- Choose High-Contrast Colors: Pick stamping polishes that will stand out against your gel polish base color for eye-catching designs.
- Test for Opacity: Ensure your stamping polish is opaque enough to clearly show your design.
- Avoid Special Effect Polishes: Metallic, glitter, and chrome stamping polishes are beautiful, but added effects are often too chunky for stamping designs. Also since they tend to reflect light, the stamping lines may appear
Now that you’re armed with the knowledge and inspiration to combine gel polish with nail stamping, it’s time to unleash your creativity and start experimenting! Remember, the beauty of nail art lies in self-expression and fun, so don’t be afraid to try new designs, colors, and techniques. Your nails are your canvas—make them uniquely yours. 💖👩🎨

%meta%