
Nail Stamping Video Lesson Day 1 & Key Take Away
- Gather Household Items: 100% acetone, cotton pads, scotch tape, paper towels.
- Workspace Setup: Desk/table, good lighting & airflow, no overhead fan.
- Nail Stamping Kit's Content: Nail stamping plate, clear stamper, scraper card, fast-dry stamping polish, smudge-free top coat. SHOP STARTER KITS

Nail Stamping Video Lesson Day 2 & Key Take Away
- Nail Preparation: Apply base coat; one coat of highly pigmented polish.
- Basic Stamping Method: Remove the protective film; scrap at a 45° angle in one smooth motion; quickly roll or press stamper to pick up image; and stamp quickly onto painted and dried nails
- Avoid Common Mistakes: Don't press stamper too hard, avoid rolling too much
- Cleanup: Always use 100% acetone on plates.

Nail Stamping Video Lesson Day 3 & Key Take Away
- Practice for Perfection: Repeat stamping motions to build muscle-memory.
- Understand Color Contrast: Dark stamping polish best on lighter bases; light stamping polish show clearly on darker bases; and pastels and nudes deliver subtle looks.
- Design Variety: Mix full-nail patterns with single-nail accent designs.

Nail Stamping Video Lesson Day 4 & Key Take Away
- Stamper Alignment: Always check stamper head position and fit.
- Match Scraping to the Design: Scrape with the direction of lines or stripes.
- Choose Correct Stamper for Design: Ice Cube or Monocle stamper for straight lines and broad designs; double-ended stamper ideal for detailed or curved designs
- Quick Cleanup Methods: Scotch tape for skin cleanup; cleanup brush with acetone for detailed precision
- Hacks: Image isolation using tape; mess-free cuticle placement with "U" method scrape.

Nail Stamping Video Lesson Day 5 & Key Take Away
- Complete Stamping Process:
- Prepare nails and workspace thoroughly
- Choose nail stamping designs carefully
- Use smooth, quick stamping techniques learned in previous lessons
- Add final touches and finish carefully (top coat, cleanup)
- Practice Consistently: Regularly stamp to improve speed, confidence, and creativity.
- Explore and Experiment: Test different colors and patterns, moving toward advanced techniques at your comfort level.
-
![]()
See What’s Possible
Get inspired by real manicures created with our nail stamping plates. Explore different styles, techniques, and creative ideas in our Lookbook.
-
![]()
Free Educations with Devon + Tiana
Master the art of nail stamping with the help of our Nail Educators, Devon and Tiana with free live streams, along with on-demand manicure tutorial videos, and more nail education resources.
-
![]()
Join the Nail Art Community
With 29,000+ worldwide members in the Official Maniology Facebook Group, you're just a click away from endless inspiration, insider tips, and a 24/7 support squad.


Shop Starter Kits
View all


Nail Stamping Plates
Should I clean my nail plate after each stamp?
Should I clean my nail plate after each stamp?
Yes. For best results, we recommend using 100% acetone as it will remove the polish and clean the plate without leaving any residue on the surface. We recommend using a cotton grabber tool, a nail art tweezer, or even clothes pin if you are in a pinch, to hold your cotton pad soaked with acetone to clean your plate so you don't accidentallly ruin your beautiful manicure while cleaning!
Maniology Pineapple Cotton Grabber
Stainless Steel Nail Art Pincher Tweezers Tool
Stamping Polishes
What is stamping polish?
What is stamping polish?
Stamping polish is polish formulated for stamping. The formula of the polish is thicker and has a lot more pigment while drying quickly. This allows the design to POP over your base polish when you stamp.
Our stamping polishes are also dual-purpose, so you can use it as a base color as well. Due to the difference in consistency in comparison to regular polishes, we recommend applying in 2 thin coats even though most of our polishes are opaque in 1 coat.
Can I stamp with regular polish?
Can I stamp with regular polish?
Yes! The main difference between stamping polish and regular nail polish is that stamping polish is usually thicker and is packed with pigment. Some regular polishes will work for stamping, but the results will vary and so will the opacity. Try with regular polishes that are opaque in 1 coat and they should work. Avoid sheer, glitter, or any specialty finishes as they will not work well.
Tip: Older nail polish tends to thicken up over time, use your old nail polish for stamping.
Can I use gel polish for stamping?
Can I use gel polish for stamping?
No, regular gel polish doesn't have the right viscosity for stamping. It will just bead up on the stamper and a mess to clean up. However, you can stamp on top of a completed gel manicure. After you are done with your gel manicure, you can stamp on top using our stamping polish and then apply another top coat to seal it all in.
Stampers & Scrapers
Does my stamper need priming?
Does my stamper need priming?
For our clear stampers, we recommend giving it a wash using mild dish soap, water and a light rub with your hand to get rid of any oily residue that occurs naturally from production and storage.
Do NOT file or buff the surface of our clear stampers. Our stamper heads can take a lot, but buffing it's surface may cause rips, tears or crumble the stamper head making it completely useless.
My stamper doesn't work! What is the problem?
My stamper doesn't work! What is the problem?
If you haven't washed your stamper head yet, please do so (preview the previous question above). Your stamper head is very squishy and soft. Therefore, any hard pressure is unnecessary for picking up an image. A light, soft touch that lightly kisses the surface of your plate is what is needed to pick up the image.
As for technique, it depends on the stamper, but rolling or using the up and down method are the two most common techniques. The most common issue we see is pressing too long with the stamper. Just a flick of the wrist is all you need for a clean transfer. Pressing or rolling cautiously tends to push the polish back on the plate affecting your results.
Is it normal for my stamper to be extremely oily?
Is it normal for my stamper to be extremely oily?
Stampers are created using silicone material. The oiliness created by silicone materials is natural and we recommend washing your stamper head with dish soap before use. Subsequently, you can simply clean with tape, a lint roller, or our Sticky Stamper Station.
I purchased a starter kit and I can't get the clear stamper to work!
I purchased a starter kit and I can't get the clear stamper to work!
If this is your first time using a clear stamper, it takes a slightly different technique than a regular solid rubber or silicone stamper. Please follow our checklist below to troubleshoot!
- Clean the stamper head gently with dish soap and water, dab dry with a paper towel. You can clean the stamper in between uses with scotch tape or a lint roller for easy cleanup.
- Use a quick light rolling action when picking up the design from the plate, just barely touching the plate. The MOST common issue we see is pressing too hard or too long. Use a light touch, just a flick of the wrist!
- Make sure there are no fans or A/C creating a direct draft toward your workstation. It can dry out the polish quicker.
- Play around with pressures and rolling movements to find what works for you.
- Clean the plate with 100% acetone only after EVERY attempt. Other types of remover will not clean the plate properly leaving behind residue that will affect your results. So none of those "nourishing nail polish remover" stuff.
Here's a video on the Dos and Don'ts of using a clear stamper:
Let customers speak for us
First off I love how easy these were to put on! I did them during nap time! And through 5 kids, dishes, & bath time… they are holding on strong! Highly recommend if you want affordable press on, that are giving salon quality and stay on for WEEKS!
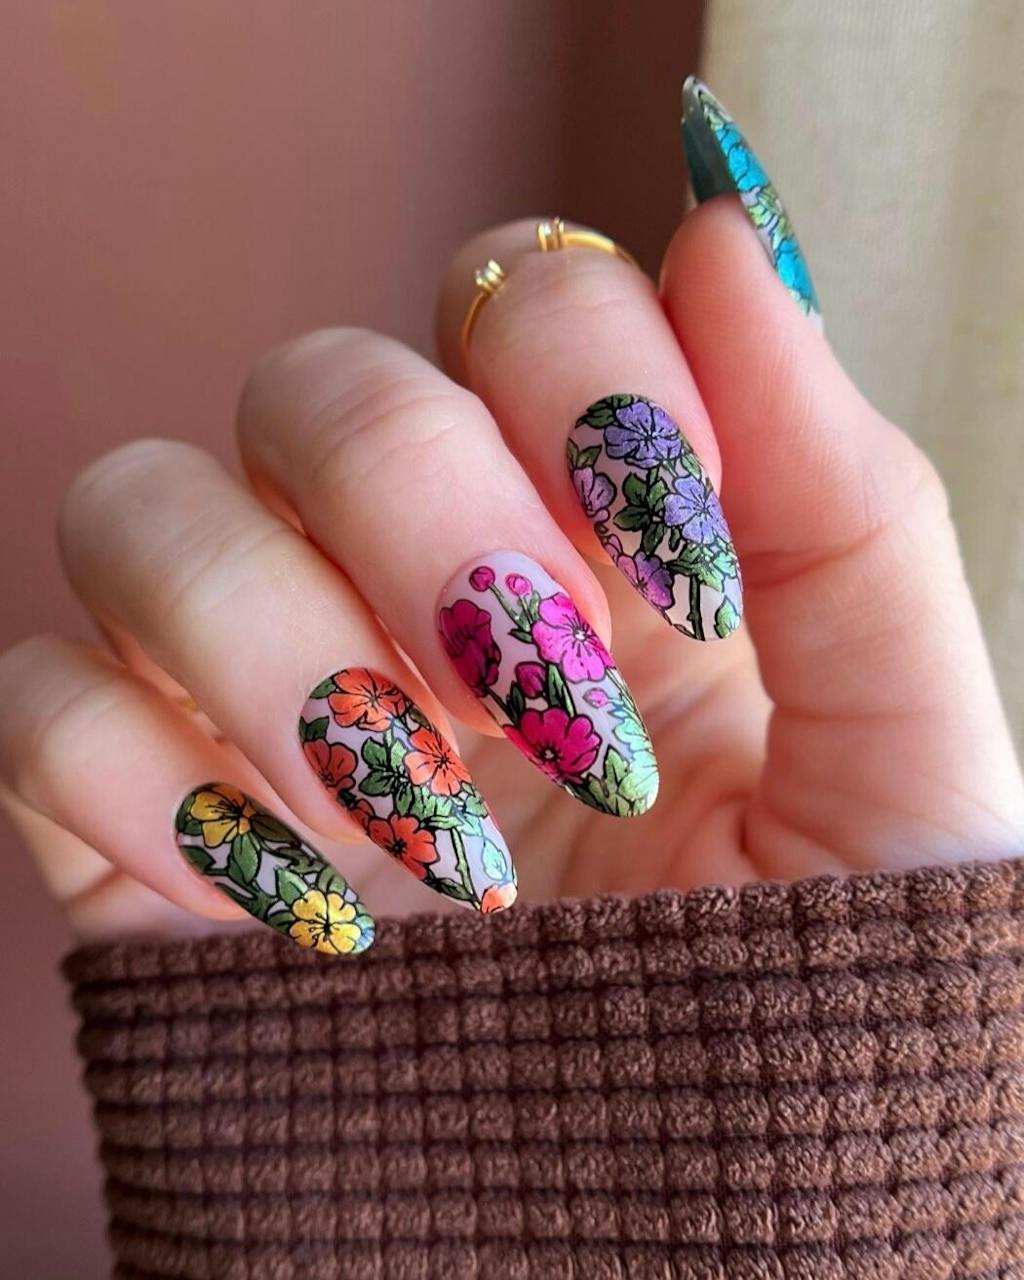
This plate created one of my favorite spring designs so far! And I love the twinkles on the smaller flowers! 🥹✨
There’s so many different designs and color pallets you can do with this plate!
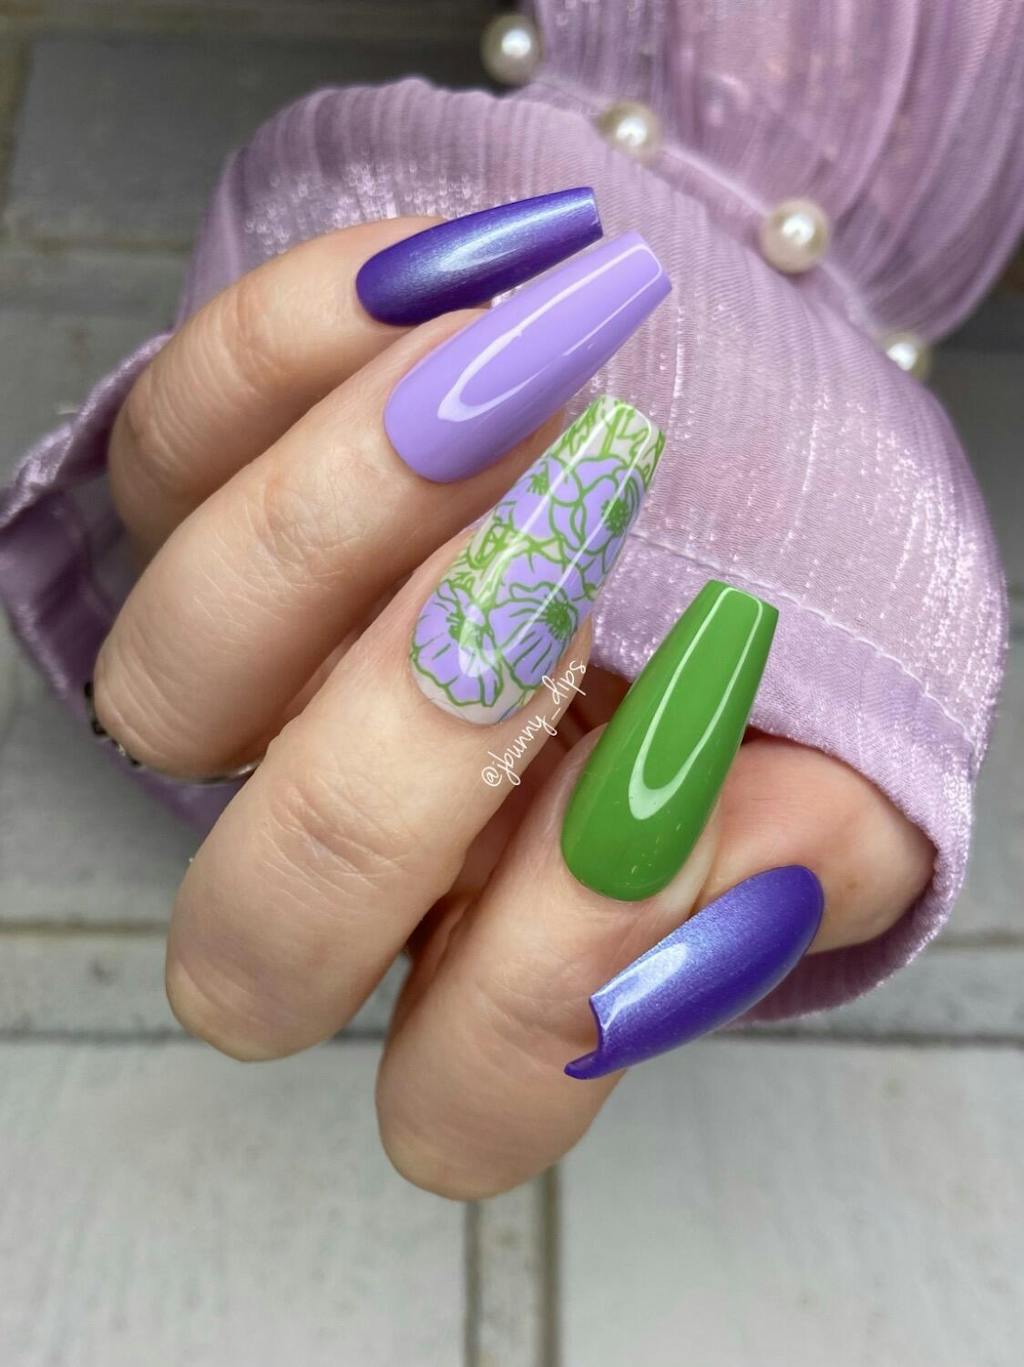
I love this plate. So good for reverse stamping! Makes me ready for spring. #maniologygifted
Love this plate! There's a lot of different ways to use the patterns and they all turn out beautiful! There's a lot of detail in all of them and I love using this plate

This bundle was perfect! Really loved the pink and purple and the plates were super cute!!
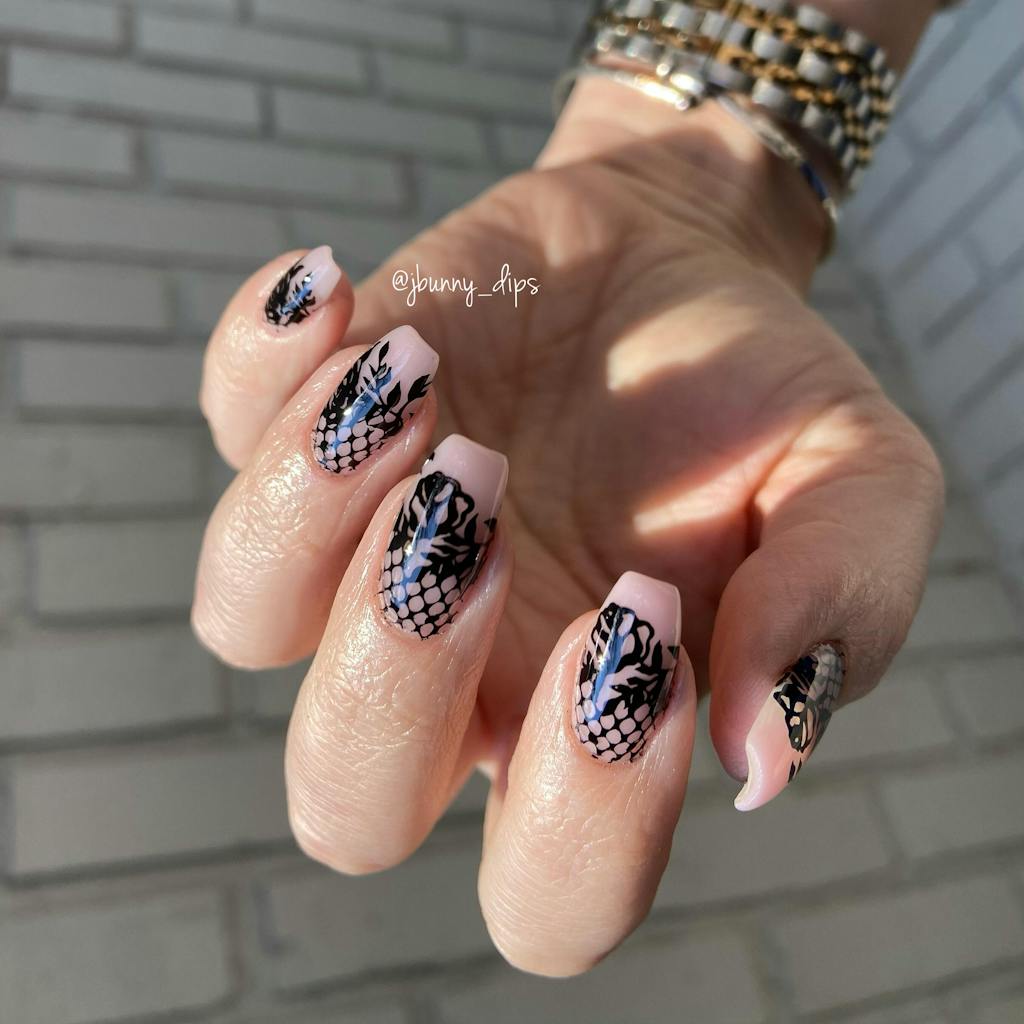
I’m loving this lace!! It’s a super romantic look with Valentines right around the corner 🖤
🖤 Polish: Straight Up Black
#maniologygifted

This beautiful French floral plate is so easy to use and adds gorgeous dimension to your basic French mani. Highly recommend!
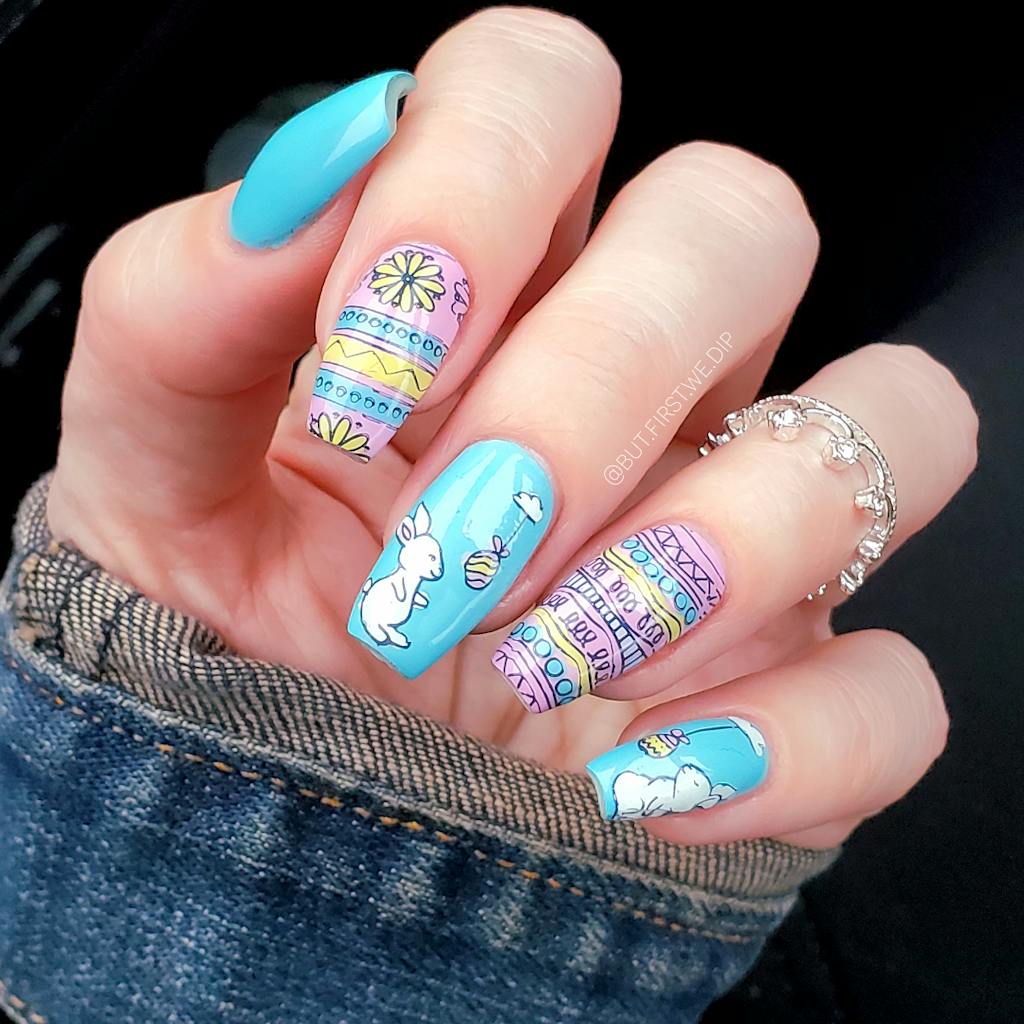
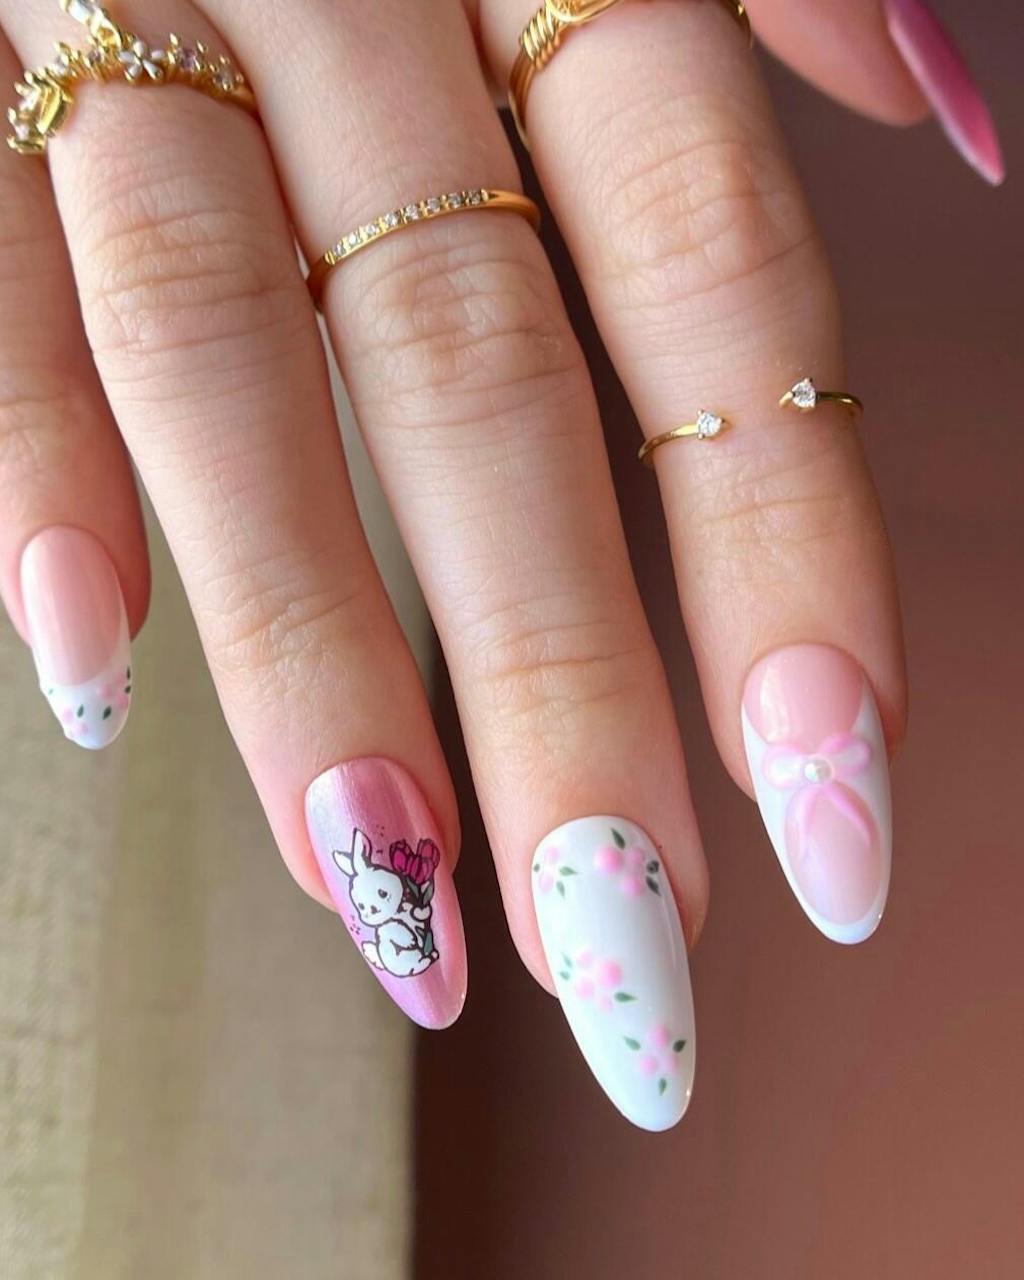
This plate has so many possibilities, from speckled eggs to a cute floral bunny scene. Lots of options for reverse stamping as well!

I LOVE this plate. It's perfectly abstract and super easy to use.
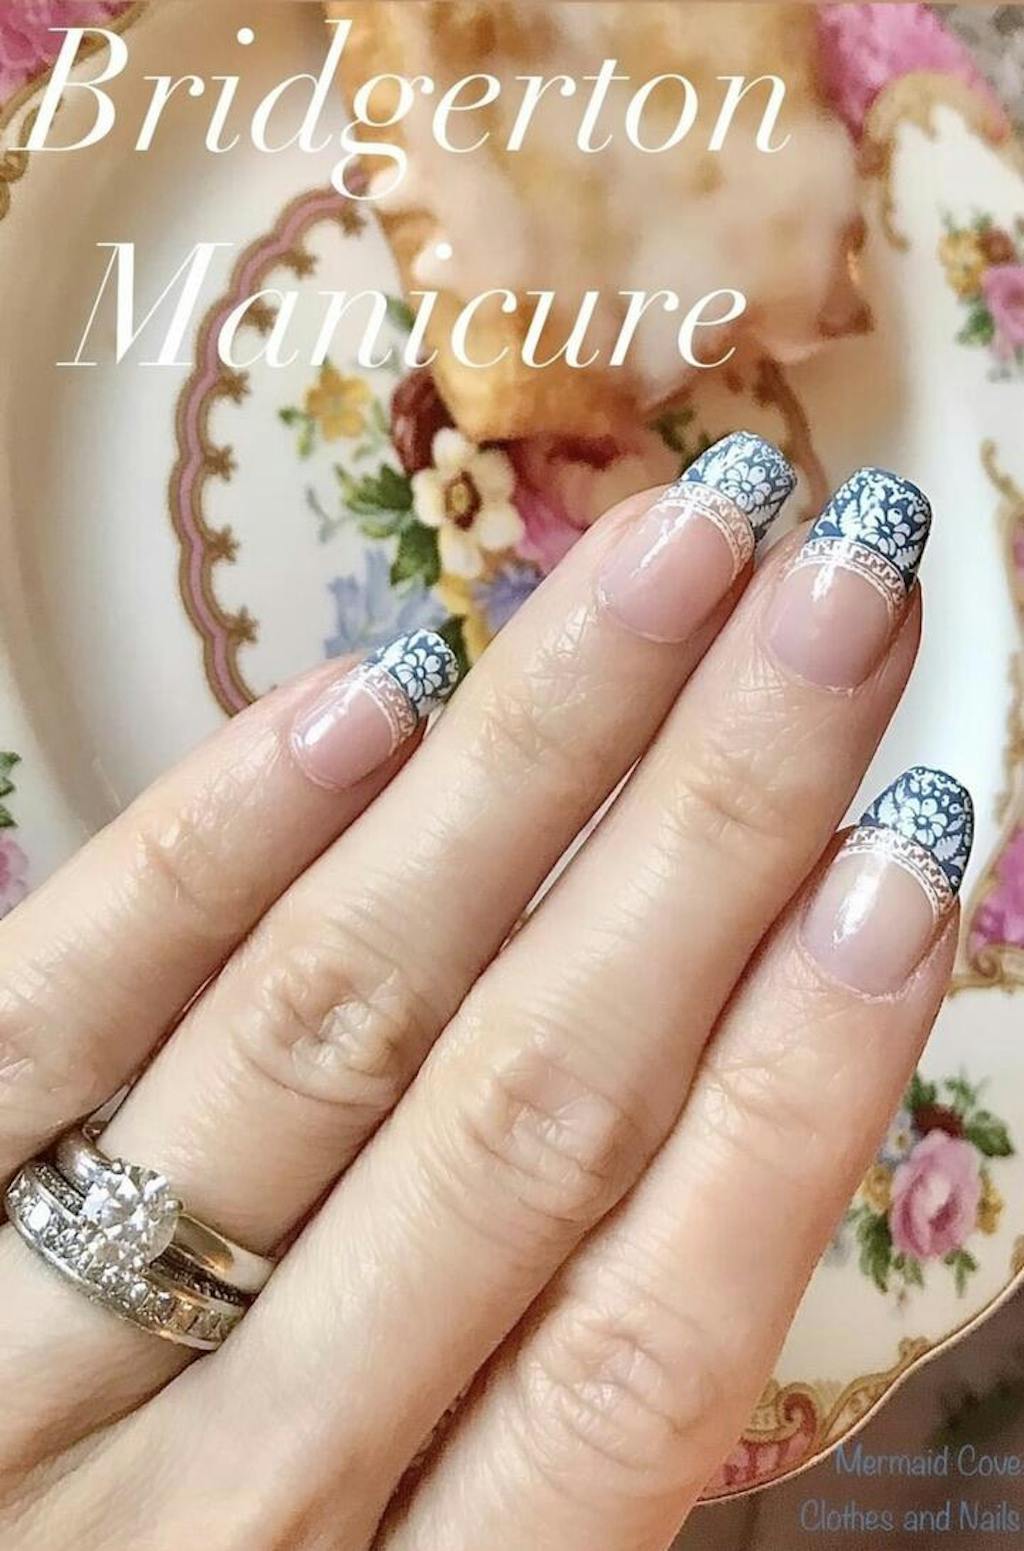
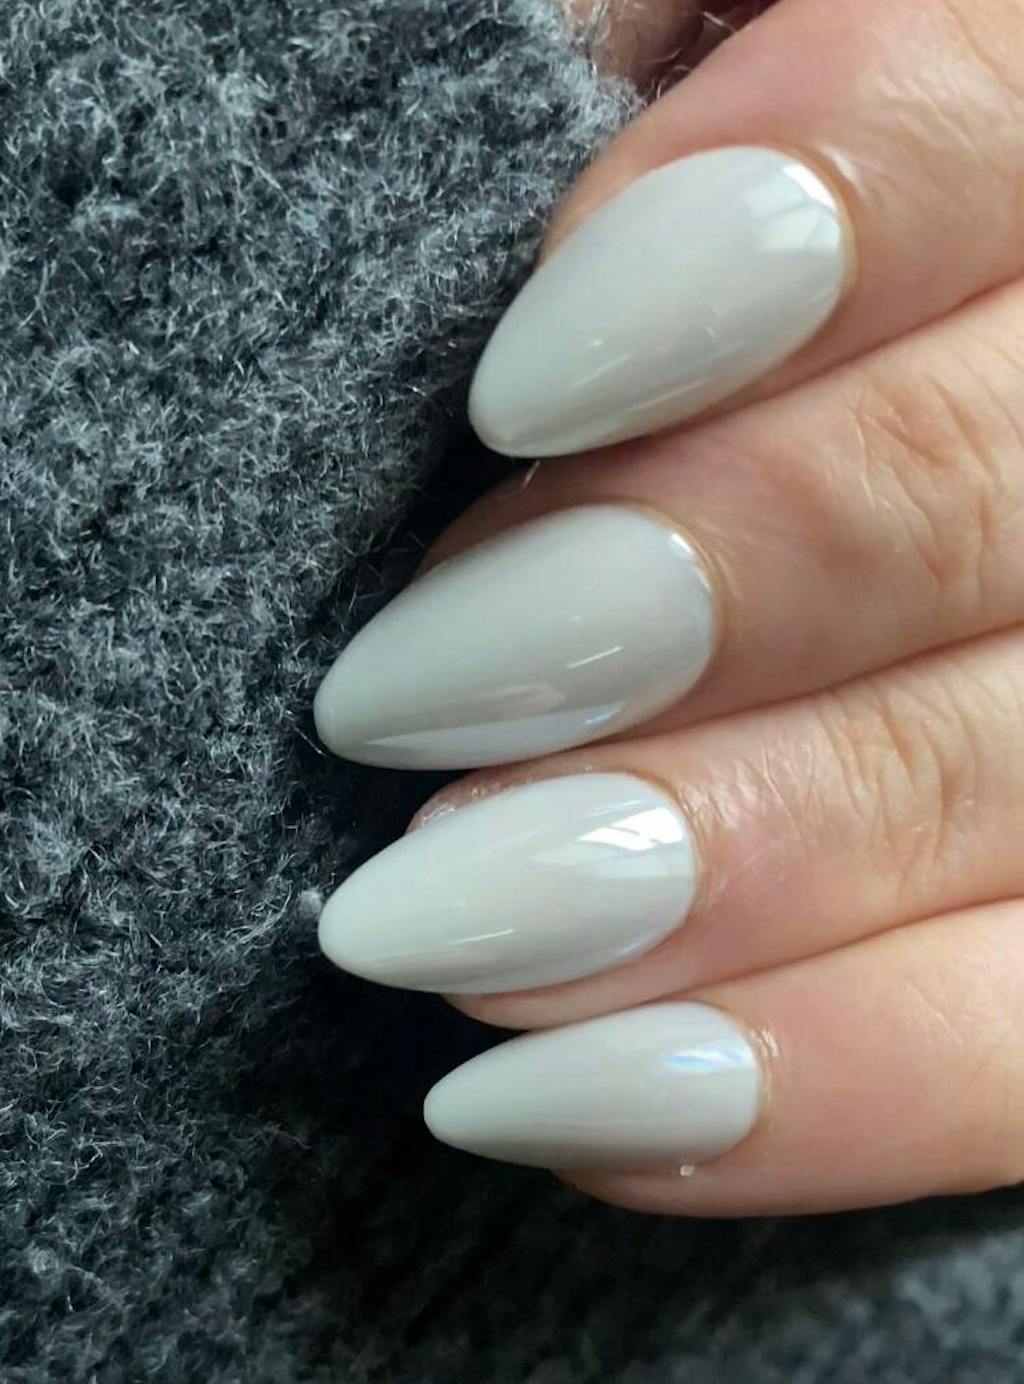
This plate is stunningly pretty. Cornflower blue stamping polish and Bam White and this plate is all you need to make Bridgerton worthy nails.

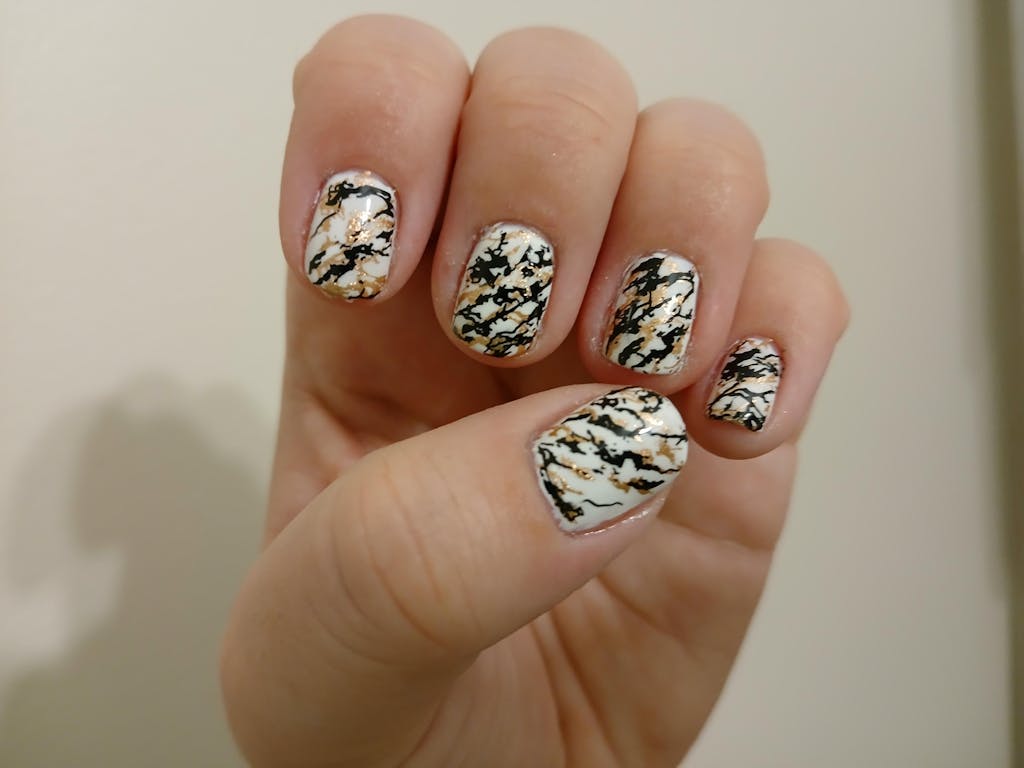
I’m in love with this plate!! I don’t know How could I achieve this on my own. It took me all of a 1/2 hour to do this mani. I used Maniology’s Frosty for my base coat and black & metallic copper for my stamping.

This plate makes frenchies so easy. Depending on the length of your nails you may have to go in and add a little polish to the tips, but still worth it

another drool-worthy set. i am not disappointed. was looking for a neon yellow that had a paler, less chartreuse look and this was IT. the rest of the colors are superb too. thick and creamy. i use these polishes for everything, not just stamping.

Excellent. Not my first time buying these. I use them all the time, right before my gel top coat to make sure there's no smudge
What customers think about the store
Customers praise exceptional product quality, innovative stamping plates with crisp details, and top-notch customer service. Fast shipping, safe packaging, and helpful tutorials enhance the experience. The ManiXMe subscription box delights users monthly. Stamp...