Mani Mask - Latex-Free Cuticle Protector
Mani Mask - Latex-Free Cuticle Protector is backordered and will ship as soon as it is back in stock.

Description
Description
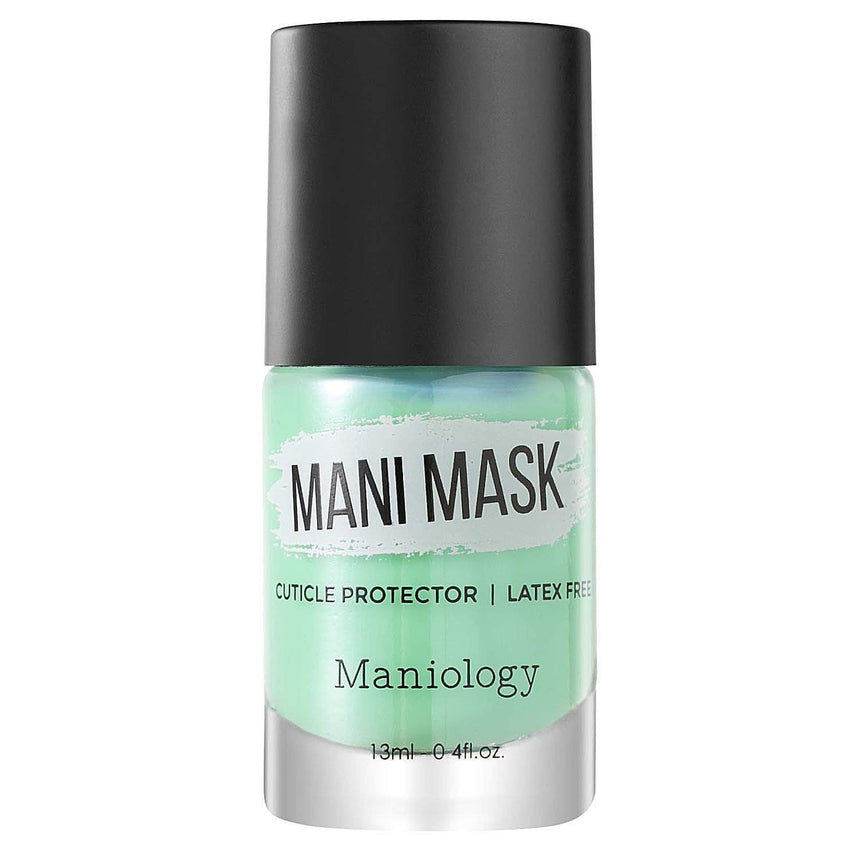
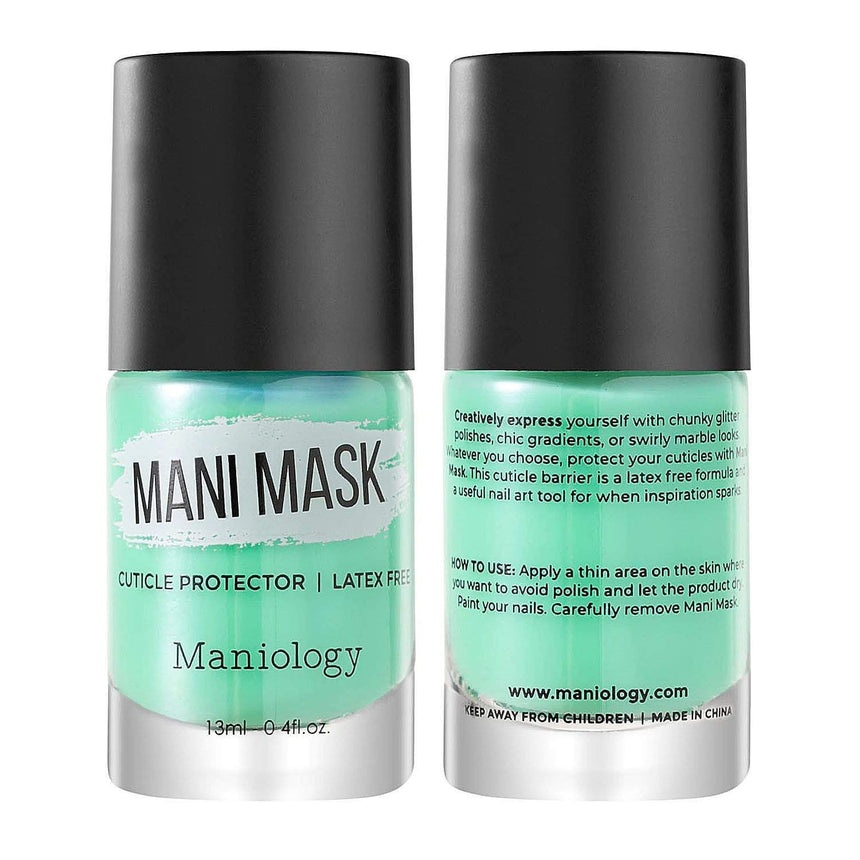
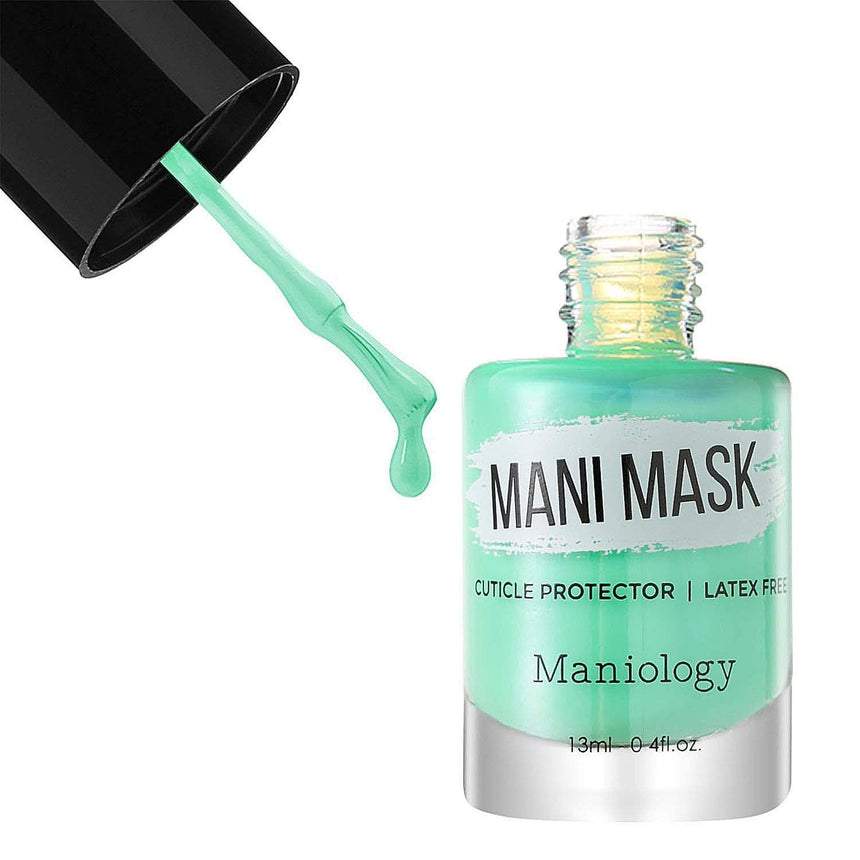
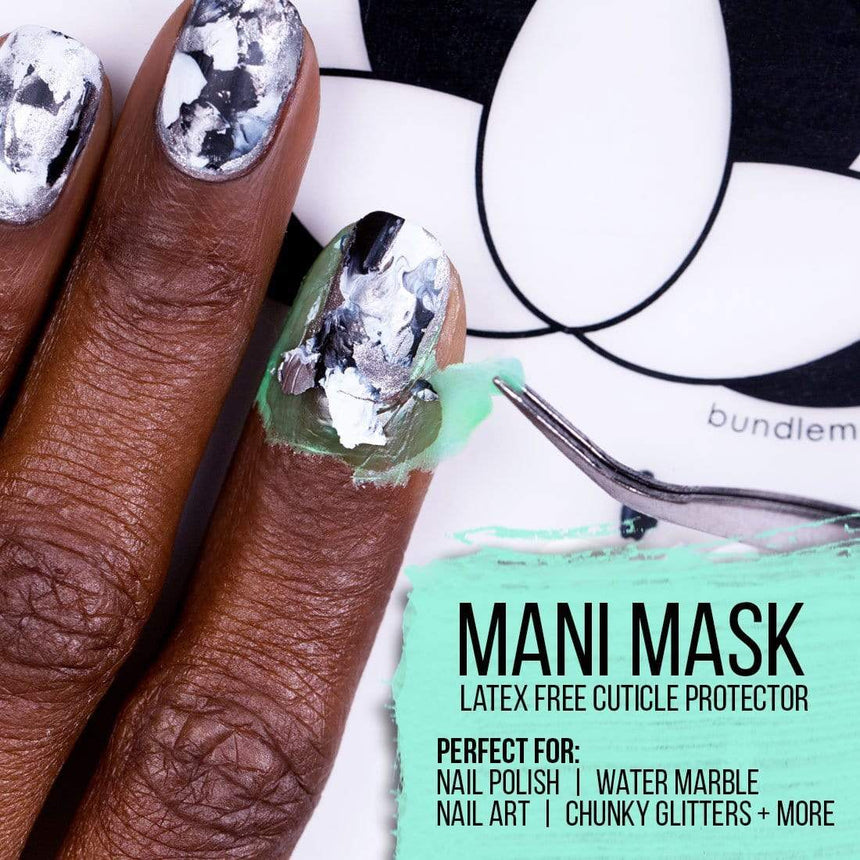
The process of artistic creation is messy and spontaneous! We want to do more of what we love, and we sure don't love cleaning. Our Latex-Free Mani Mask Liquid Cuticle Protector will help to make clean-up time quicker and easier. Each handy little bottle comes with 13ml (0.4 fluid ounces) of liquid cuticle barrier. This latex-free formula doesn't come with the offensive smell of latex-based cuticle protectors and is safe for those with allergies and sensitive skin. Create the manicure of your dreams using chunky glitters, water marbling, full nail stamping, paint splatter, and any other technique you want without having to worry about messy hands.
Directions:
- Apply 2 thin coats of Latex-Free Mani Mask formula onto your cuticles and the surrounding skin for instant mess protection.
- Wait for the formula to dry until it's transparent.
- Then, create your amazing nail art as you normally would. Be as crazy and messy as you like!
- Finally, peel the Mani Mask away from your nail and--voila! The mess is gone! A carefree expression is yours. *If you have dry hands, it's helpful to moisturize before using Mani Mask to make it peel off easier.
WARNING: Possible freeze damage. This product will freeze and dry up in freezing temperatures and must be kept at room temperature for the formula to work properly.
Shipping & Return
Shipping & Return
- Free U.S. shipping on orders over $59
- 365 days return guarantee
- In stock and ready to ship
- Friendly Maniology team is always ready to help!


