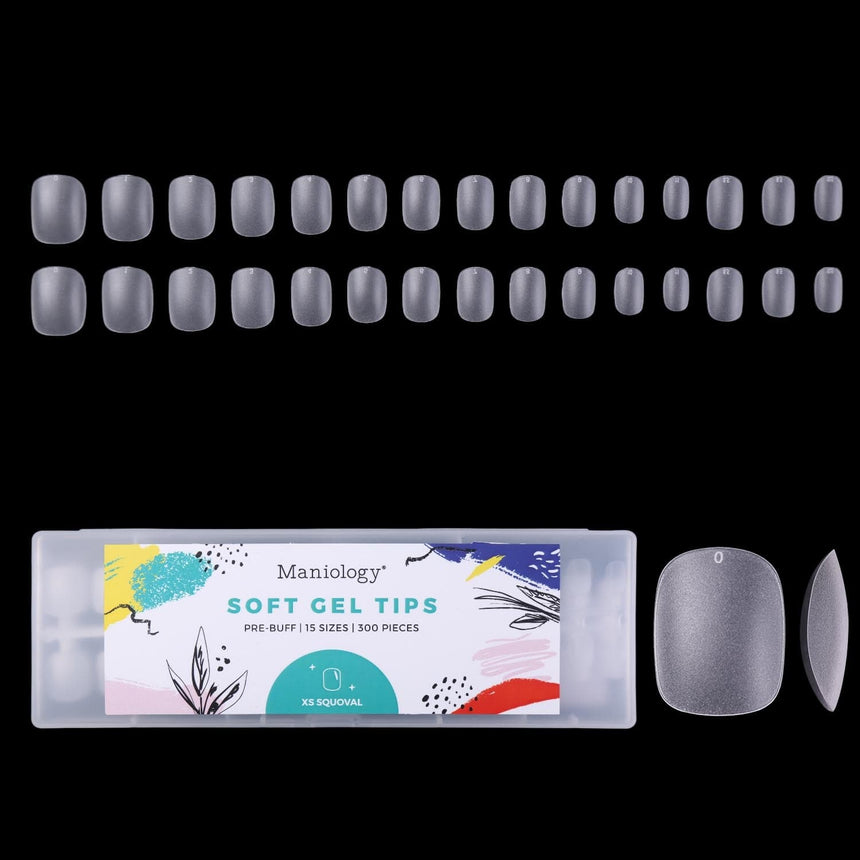
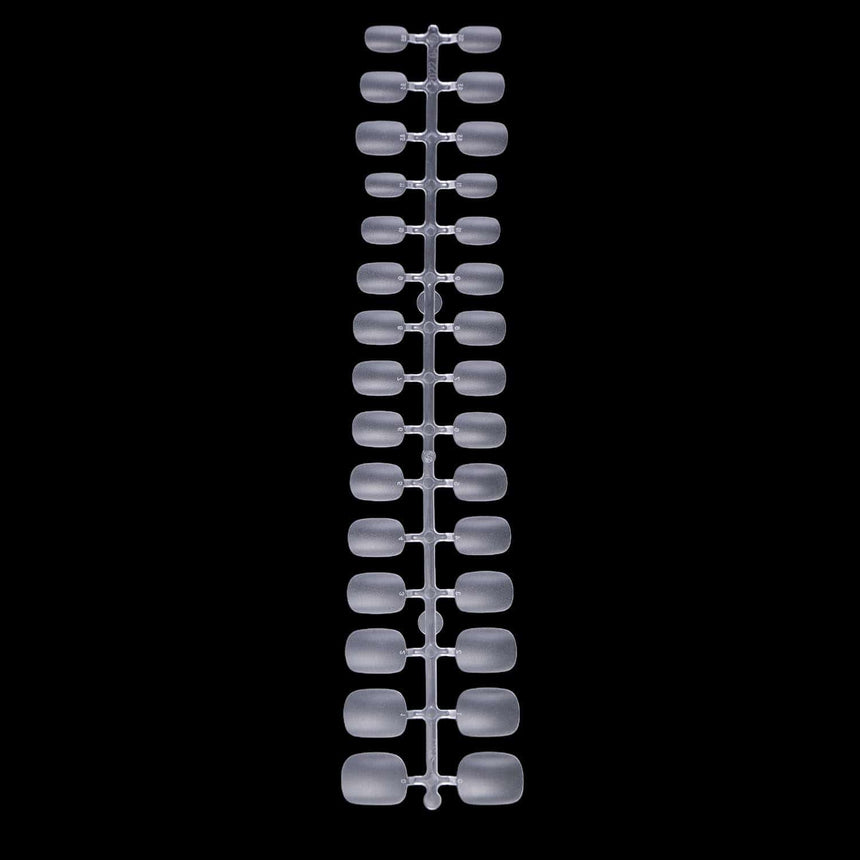
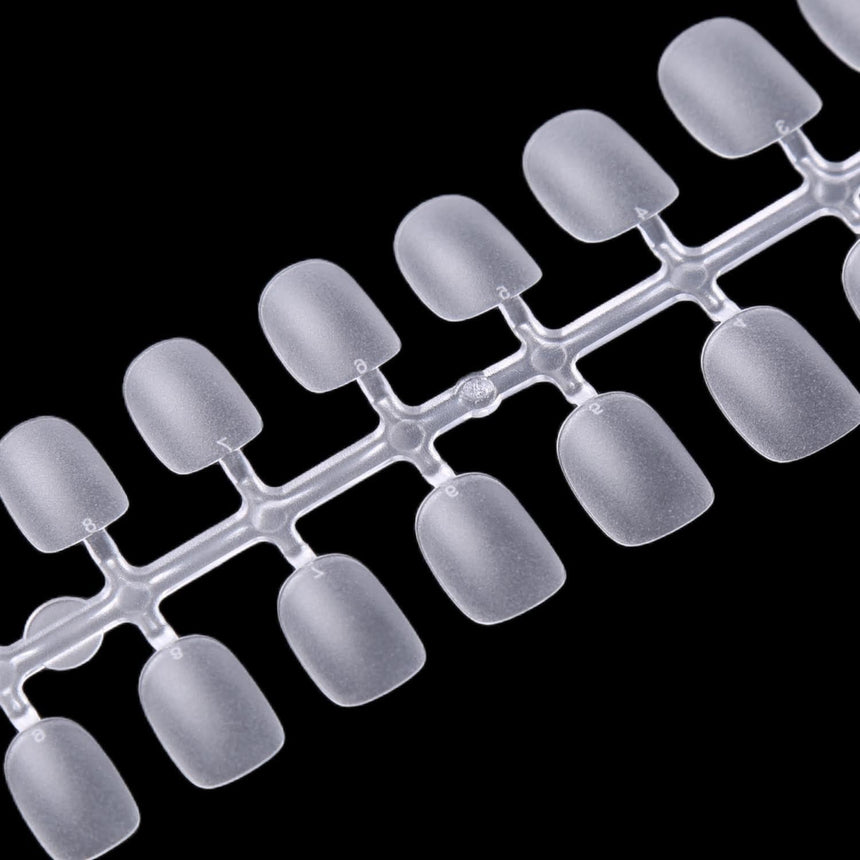
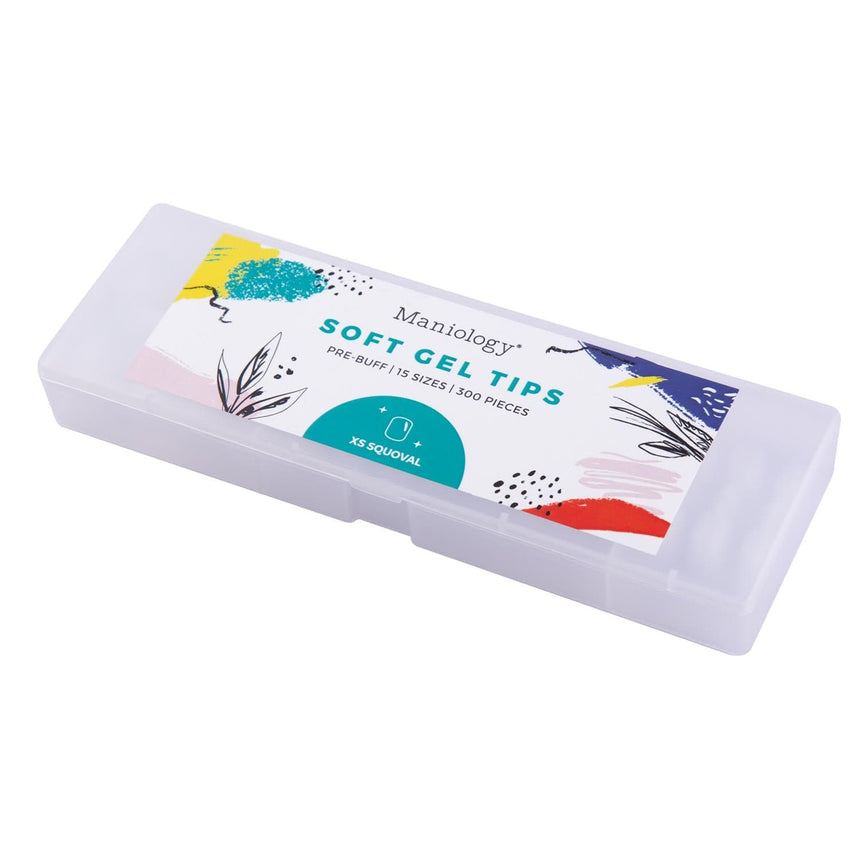
300pcs Full Cover Nail Tips for Extension in 15 Sizes - XS Squoval
$1600
Unit price
/
Unavailable
300pcs Full Cover Nail Tips for Extension in 15 Sizes - XS Squoval is backordered and will ship as soon as it is back in stock.

Description
Description
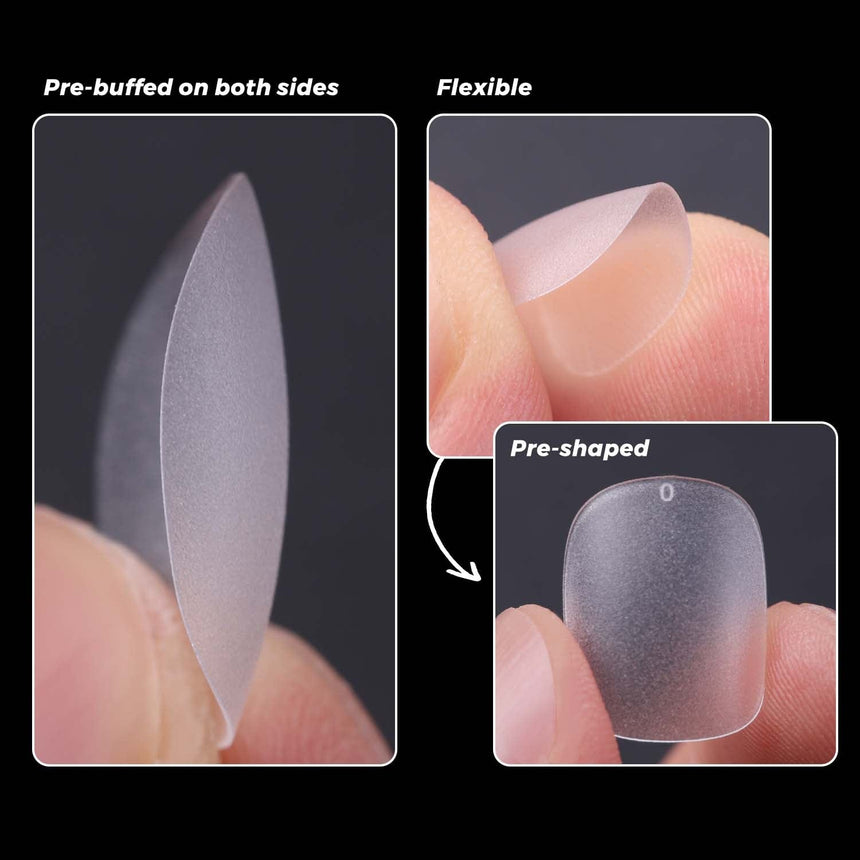
Our XS Squoval Press-On Nails combines the soft curves of oval nails with the straight edges of square nails, offering a unique and trendy look. Ideal for those who want a modern and feminine style that's both versatile and eye-catching. This box of pre-buff 300pc press-on nails features 15 different sizes, so you can find the perfect fit for your nails. The soft and flexible tips provide a secure fit and natural appearance for a flawless manicure. These nails are easy to apply and can last up to two weeks with proper care, ideal for any nail lover who wants to stay on-trend.
• EASY TO USE: The tips are easy to trim, apply, and paint. These are lightweight and comfortable to wear, just as convenient as your natural nails.
• FUNCTIONAL: Provides a quick and easy solution for nail styling, with pre-buffed tips for easy application.
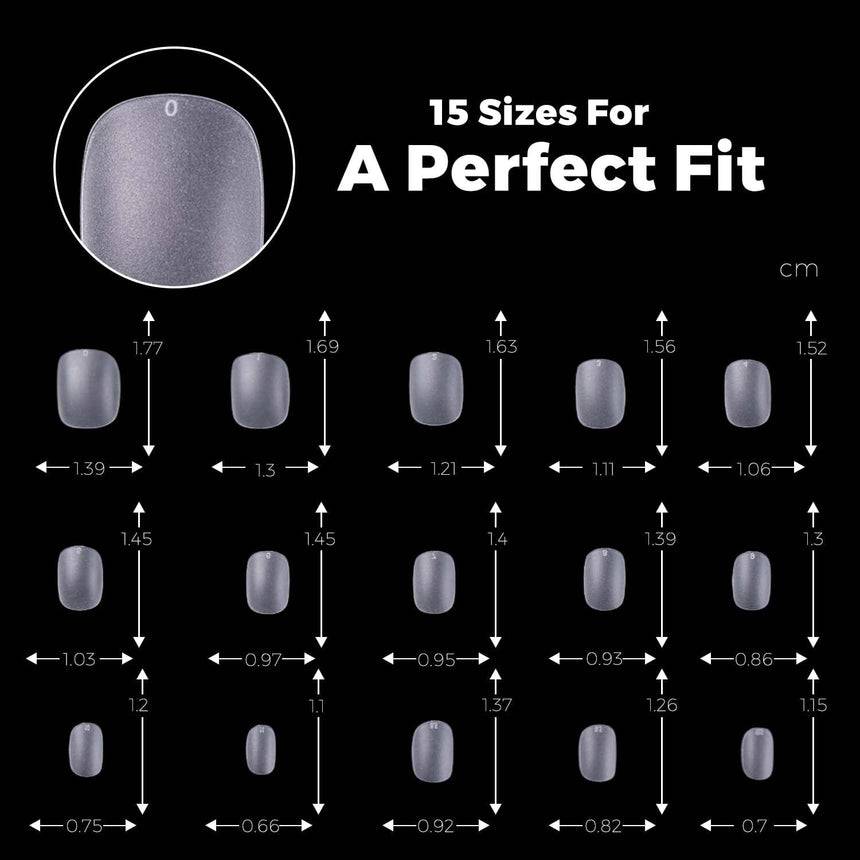
• SIZE OPTIONS: Offers 15 different sizes so you can choose the most suitable size to fit your nails.
Instructions:
1. Prep and clean your nails. Make sure they are spotless with no oily texture, so that the adhesive tabs stick properly.
2. Select the appropriate nail tip size for each of your nail. The nail tips should sit snug on your nail bed.
3. Peel off the adhesive tab and stick it on your nail bed.
4. Place the nail tip on your nail from the back edge to front, lightly press it to expel the bubbles.
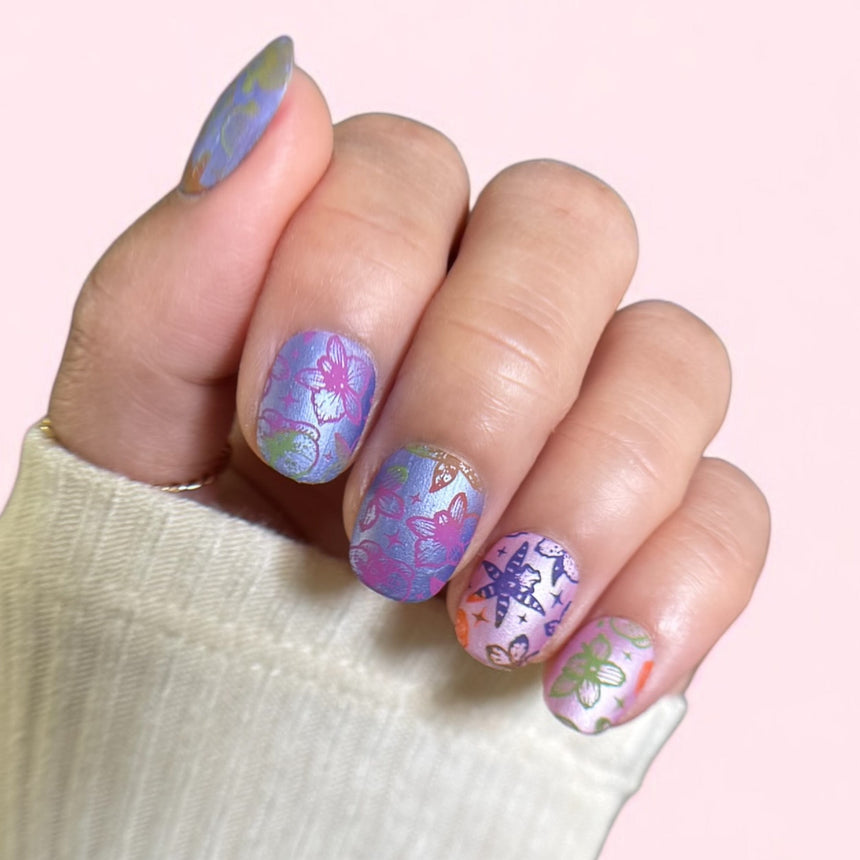
5. Repeat on the rest of your fingers and design, paint, or stamp to your liking just like your natural nails.
*Adhesive tabs not included*
Shipping & Return
Shipping & Return
- Free U.S. shipping on orders over $59
- 365 days return guarantee
- In stock and ready to ship
- Friendly Maniology team is always ready to help!

