Spring Occasions: What's Crackin Easter (m189) - Nail Stamping Plate
$900
Unit price
/
Unavailable
Spring Occasions: What's Crackin Easter (m189) - Nail Stamping Plate is backordered and will ship as soon as it is back in stock.

Description
Description
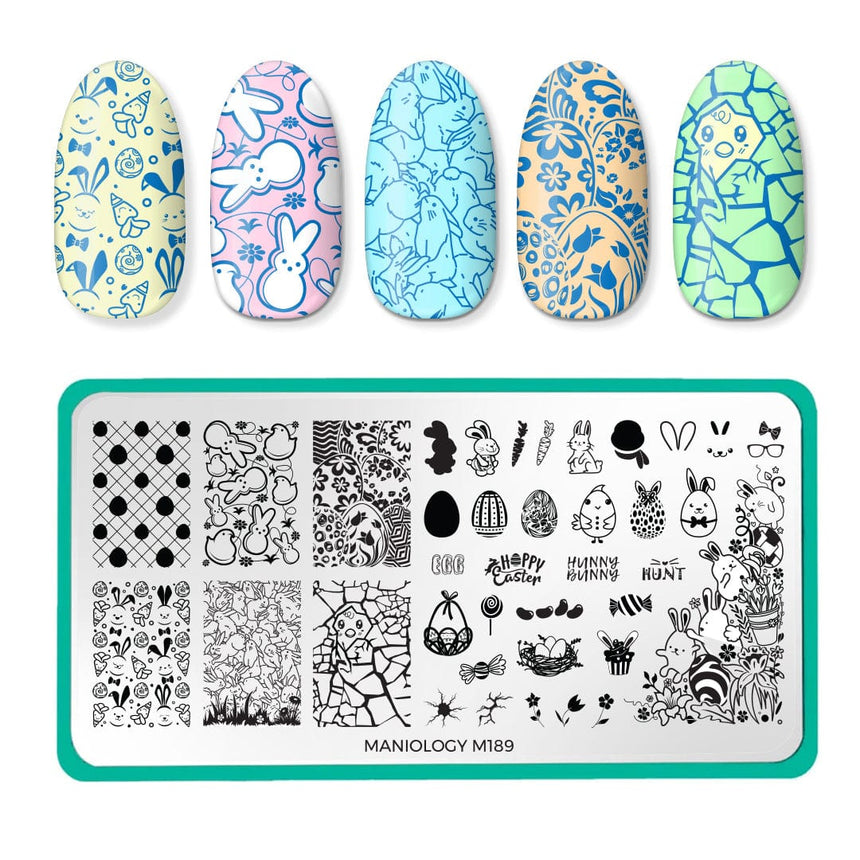
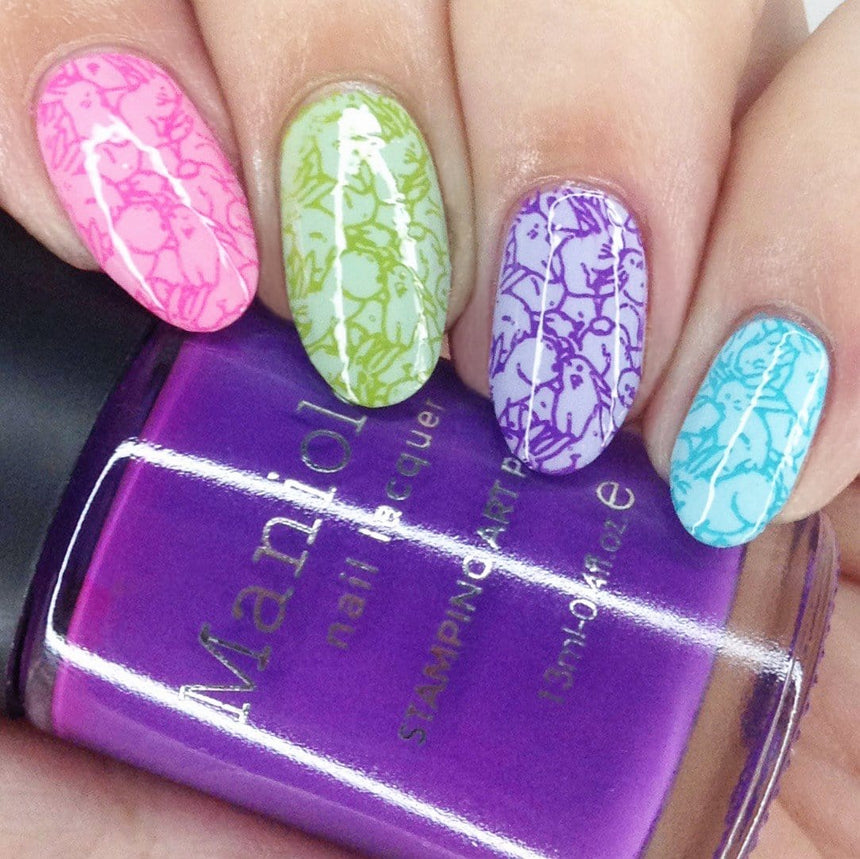
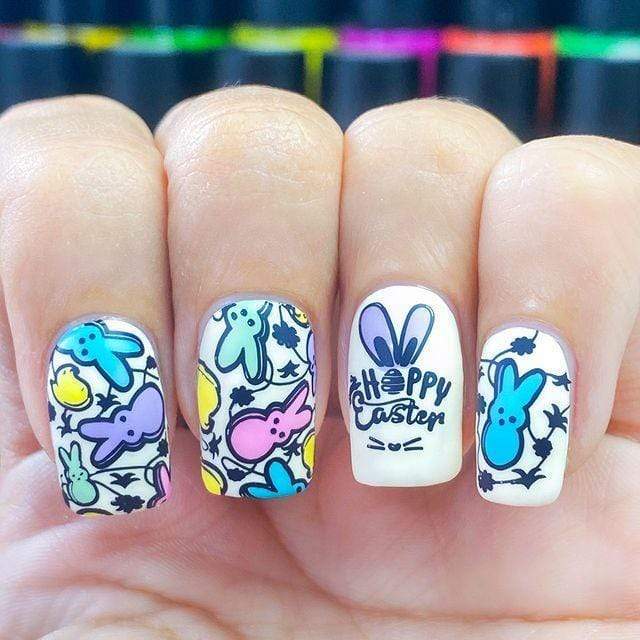
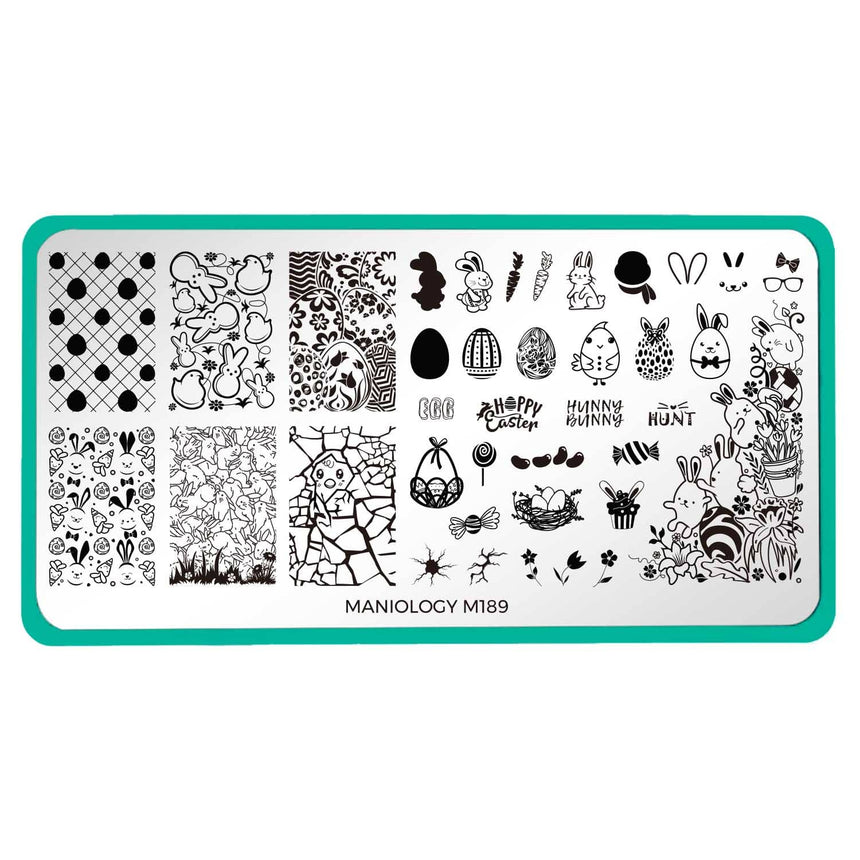
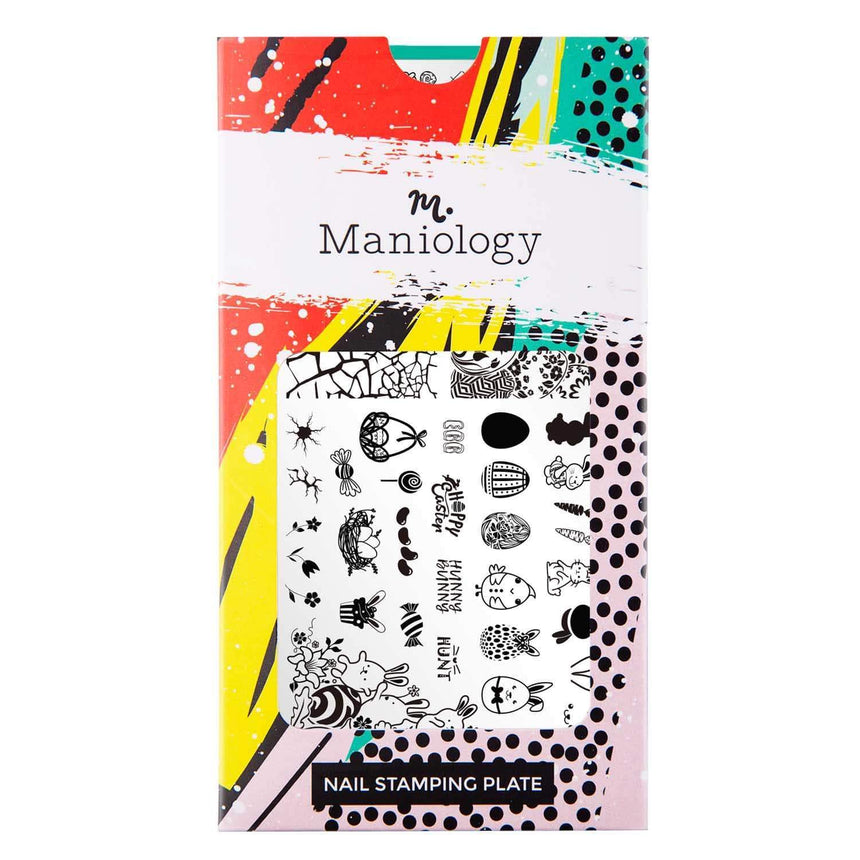
Need nails to go with your Sunday best? What's Crackin' (m189) is eggs-actly what you're looking for. From egg hunting to weekend brunch, this Easter-themed stamping plate brings a new tradition to your spring festivities. This plate is filled with full nail and layered designs ranging from Easter bunnies to newborn chicks.
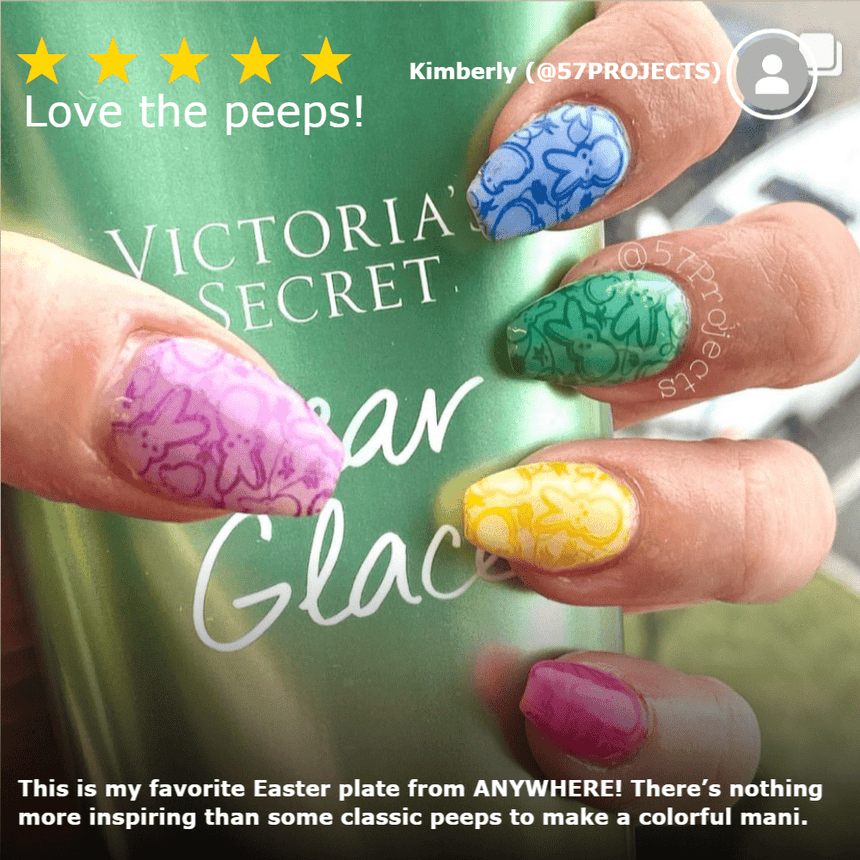
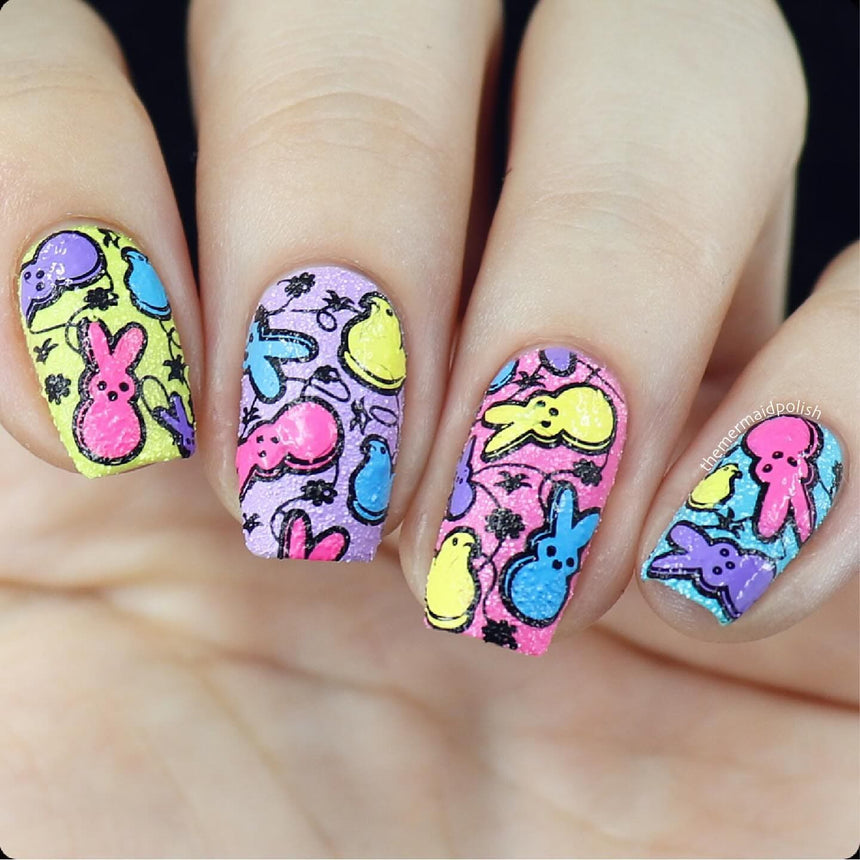
- GATHER THE PEEPS: The perfect plate for Easter nails comes with rabbits, Easter eggs, and basket designs.
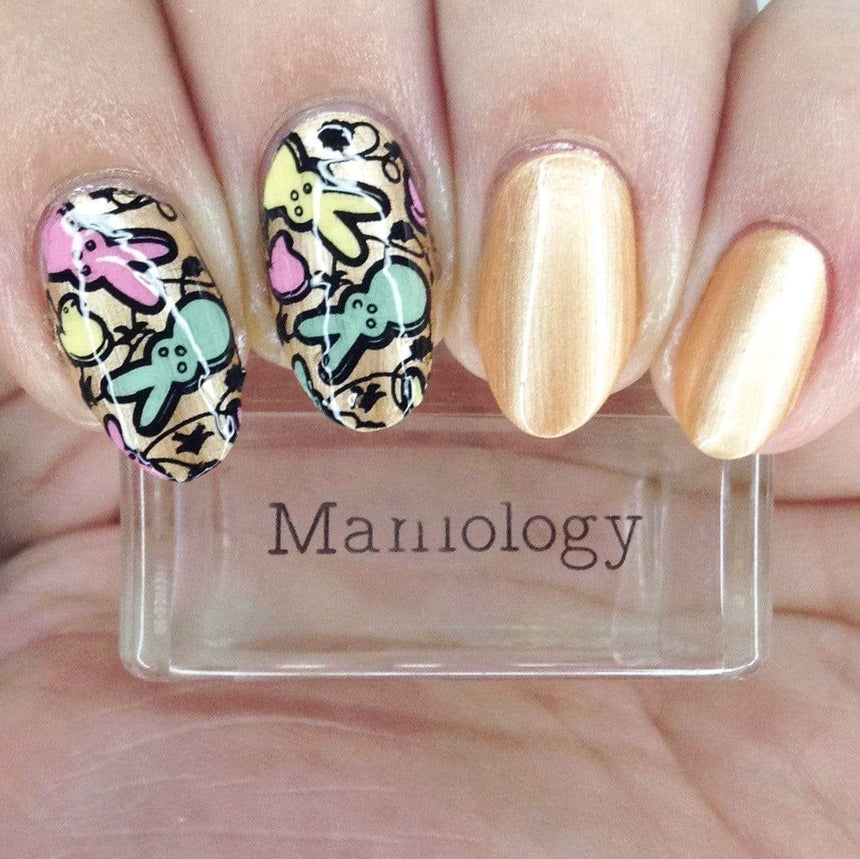
- ENDLESS CREATIVITY: The nail art possibilities are endless with just one nail stamping plate and your favorite polishes!
- EASIER THAN EVER: Stamping is simple! Just scrape, stamp, and swoon your way to a beautiful new manicure.
- BIGGER IS BETTER: This XL stamping plate (4.75x2.4in) features a huge variety of images for you to create with.
- GET INSPIRED: Check out our Nail Academy or join us on Facebook, Instagram, and YouTube for tips, tricks, and inspiration.
Shipping & Return
Shipping & Return
- Free U.S. shipping on orders over $59
- 365 days return guarantee
- In stock and ready to ship
- Friendly Maniology team is always ready to help!

