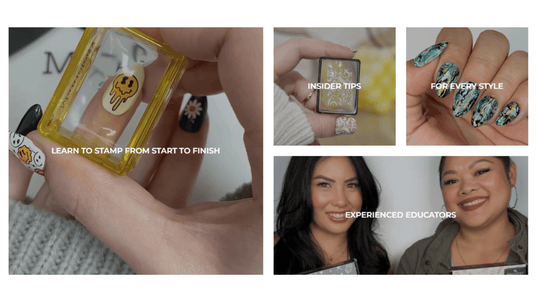
Whether you're a nail stamping pro or a curious beginner, picking the right stamper can make all the difference in your nail art game. Today, we’re diving into the world of nail stampers and exploring the various types, their uses, and tips for getting the best results.
What is a Nail Stamper?
Nail stampers are the unsung heroes of nail art. They allow you to transfer intricate designs from stamping plates onto your nails effortlessly. Without nail stampers, achieving perfect, detailed designs are extremely difficult for most people who aren’t blessed with steady hands or skilled in precision hand painting. In this blog, we’ll share all the different types of Maniology nail stampers, and you’ll learn how to choose the right one for you!
Types of Maniology Nail Stampers: Find Your Perfect Match
1. Classic Clear Stampers
![]()
- Best for: General use and beginners.
- Features: Transparent silicone head for precise placement.
- Benefits: You can see exactly where you're placing the design on your nail. Perfect for newbies and detailed designs.
2. Ice Cube Stampers

- Best for: Everyday use and sturdy designs.
- Features: Compact, square shape with a clear silicone head.
- Benefits: Easy to handle, great for firm stamping. Popular for its limited edition styles and durability.
3. Monocle Stampers

- Best for: Larger nail beds and straight-line designs.
- Features: Large, flat silicone head.
-
Benefits: Ideal for straight-line designs like pinstripes and plaids. Provides a firm and even surface for detailed work.
4. Double-Ended Stampers

- Best for: Versatility and precision.
- Features: Two different-sized heads on each end.
- Benefits: Great for both small and large designs. One end is perfect for tiny, detailed work, while the other handles bigger images.
5. Pencil Style Stampers
![]()
- Best for: Small designs and touch-ups.
- Features: Small, precise stamping head.
- Benefits: Excellent for picking up and placing small, intricate designs. Ideal for nail artists with tiny nail beds or detailed designs.
6. Gummy Stampers

- Best for: Pigments, chromes, and glitters.
- Features: Sticky silicone head.
- Benefits: Great for picking up fine powders and glitters. A must-have for non-traditional stamping methods.
7. Shrinking Stampers

- Best for: Customizing design sizes.
- Features: Allows for shrinking or inversing designs.
- Benefits: Perfect for nails of all sizes, especially those with small nail beds. Great for detailed work and ensuring designs fit your nail perfectly.
Tips and Tricks for Using Your Nail Stamper 🪄
1. Prepping Your Stamper
- Clean it up: Always clean your stamper before use with scotch tape or a sticky lint roller. Avoid using acetone regularly as it can cloud the silicone.
- De-oil with Paper Trick: Place the stamper head on plain paper for a few hours to absorb excess oils.
2. Picking Up Designs
- Firm and Even Pressure: Apply even pressure when picking up designs to avoid warping.
- Scraping Technique: Scrape at a 45-degree angle to keep the polish in the etched design.
3. Transfer Tips
- Base Coat Matters: A sticky base coat helps designs adhere better to your nails.
- Reverse Stamping: Pre-paint your designs and cover them to keep the polish pliable for up to 24 hours.
Frequently Asked Questions (FAQs) 📋
Q: Why isn’t my stamper picking up designs well?
- A: Ensure your stamper is clean and free of debris. Try the paper trick to remove excess oils or wash it with mild soap and water.
Q: Can I use any polish with a stamper?
- A: While regular polish works, stamping polish is thicker and picks up designs better. Gel polish can also be used for specific techniques like French tips.
Q: How do I clean my stamper head?
- A: Use scotch tape, a sticky lint roller, or our sticky stamper station. Avoid acetone to prevent clouding.
Q: How long can I keep a reverse stamped image on the stamper?
- A: If capped properly, you can keep it for up to 24 hours. This helps keep the polish pliable.
Final Thoughts
Nail stamping is a fantastic way to express your creativity and style. By choosing the right stamper and using it correctly, you can elevate your nail art to new heights. Experiment with different types and find the one that suits your needs best. Happy stamping, nail artists! 💅✨
Don't forget to subscribe to our newsletter and download the Maniology app for exclusive deals, giveaways, and more nail art inspiration. Stay creative and keep shining! 🌟


