add to wishlist
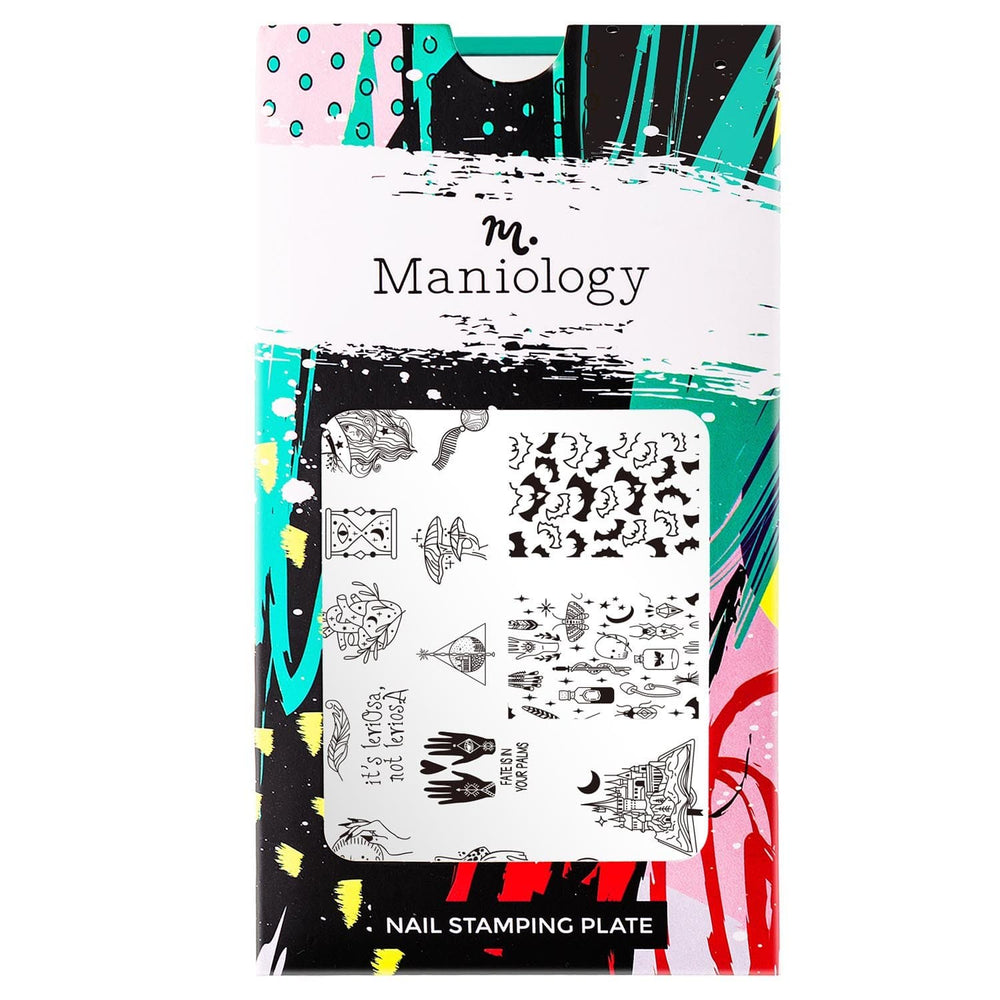
Bewitched: Potions 101 (m151) - Nail Stamping Plate
FEATURED VIDEO
Description
Details
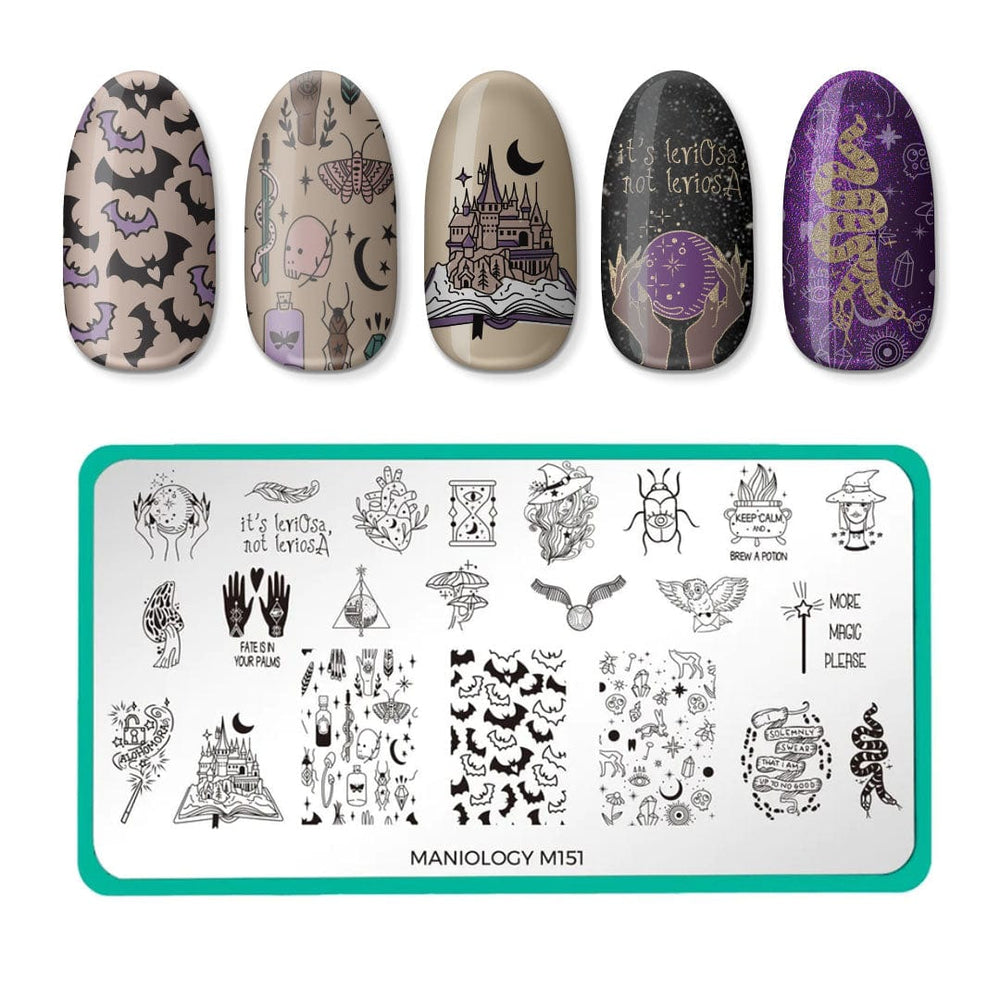
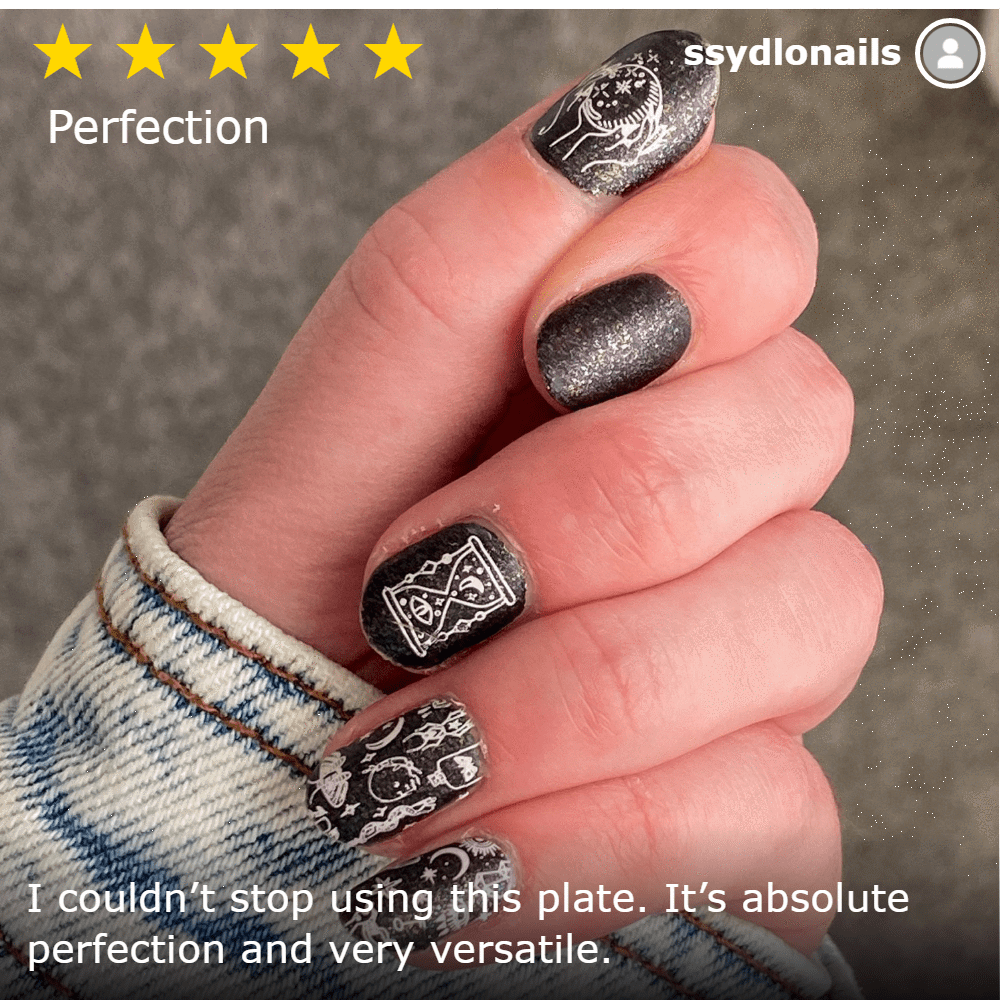
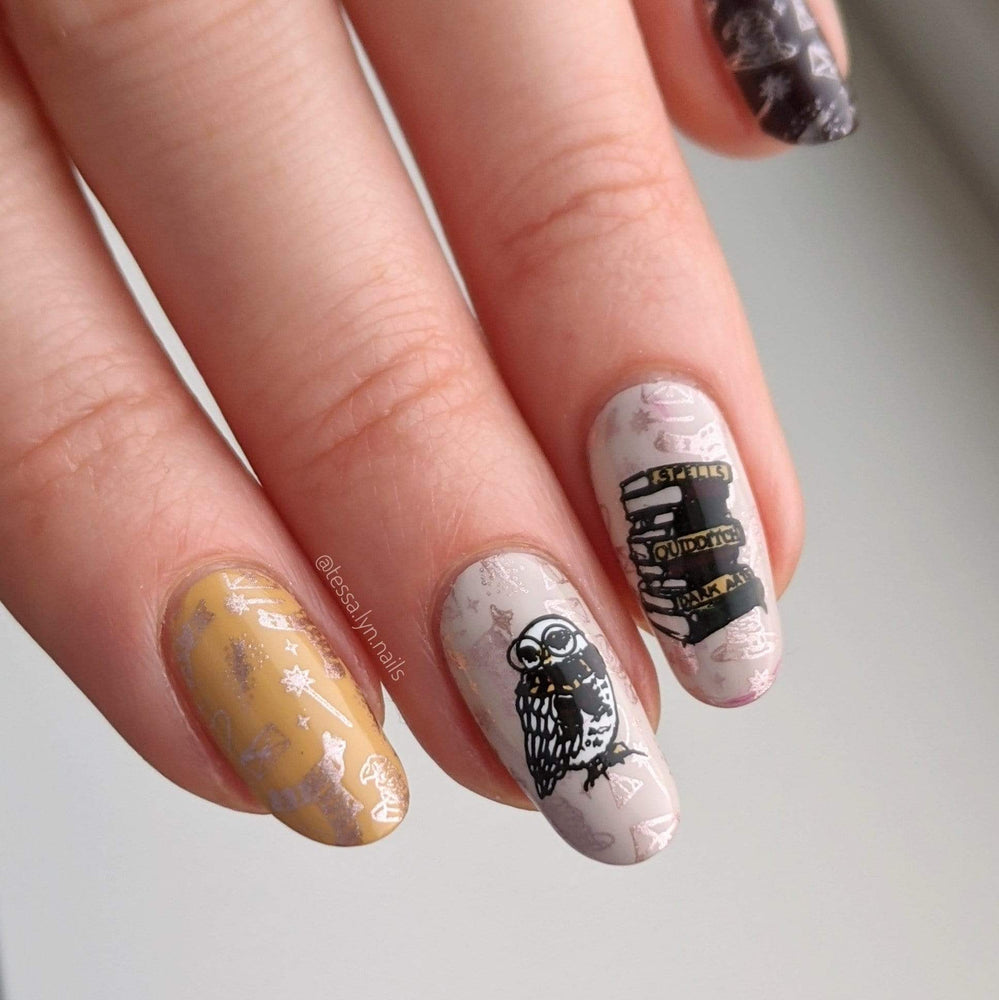
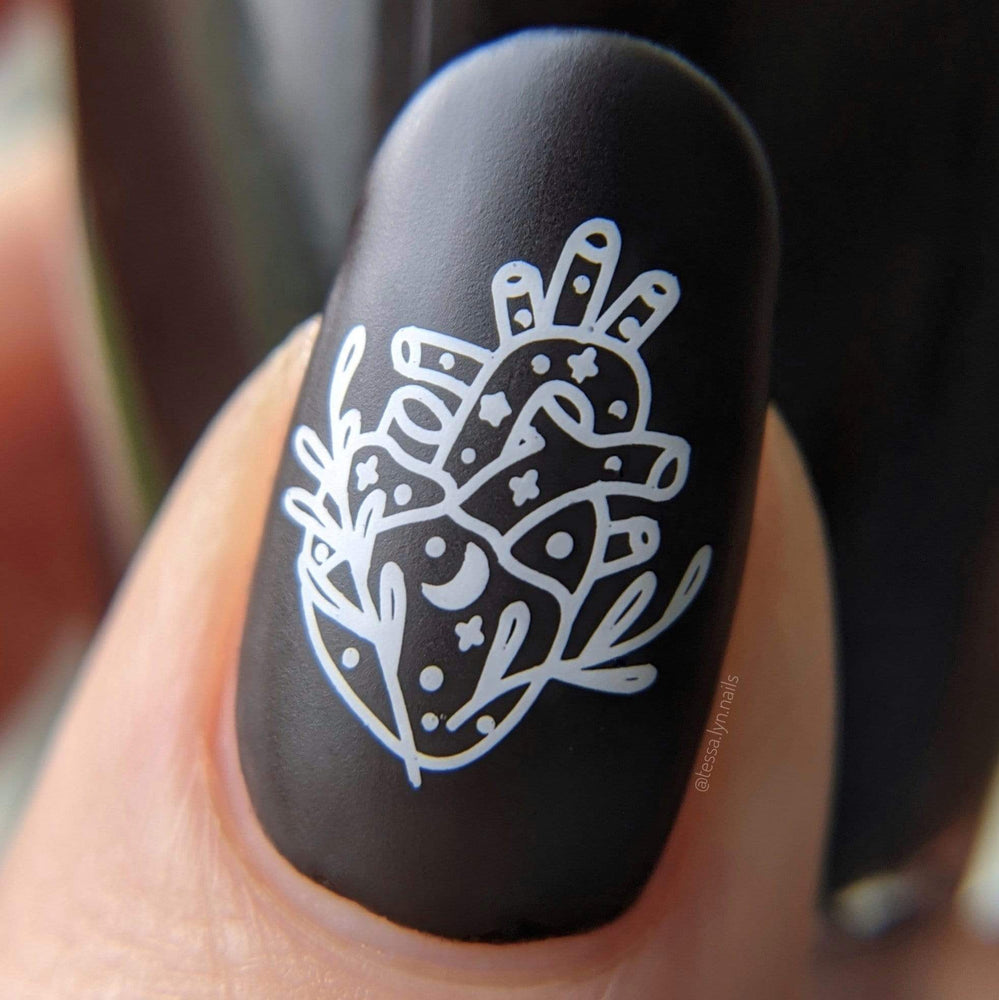
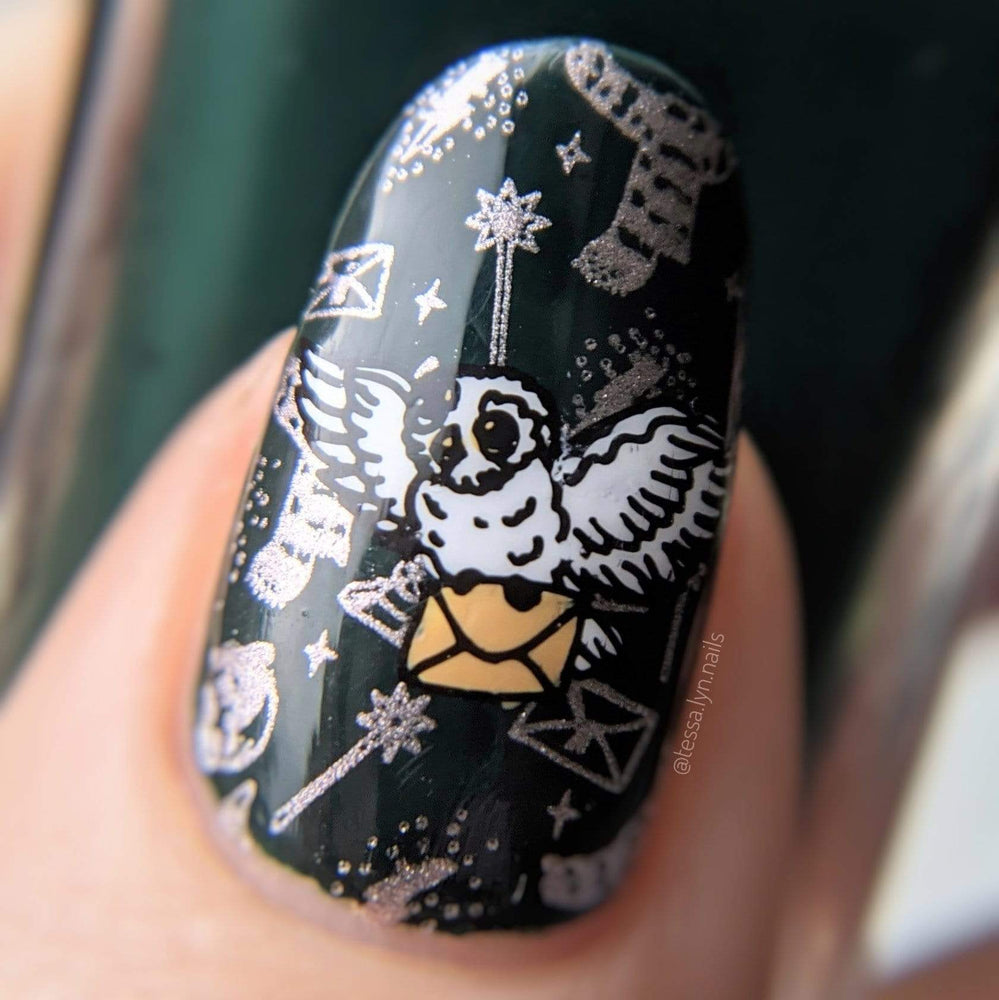
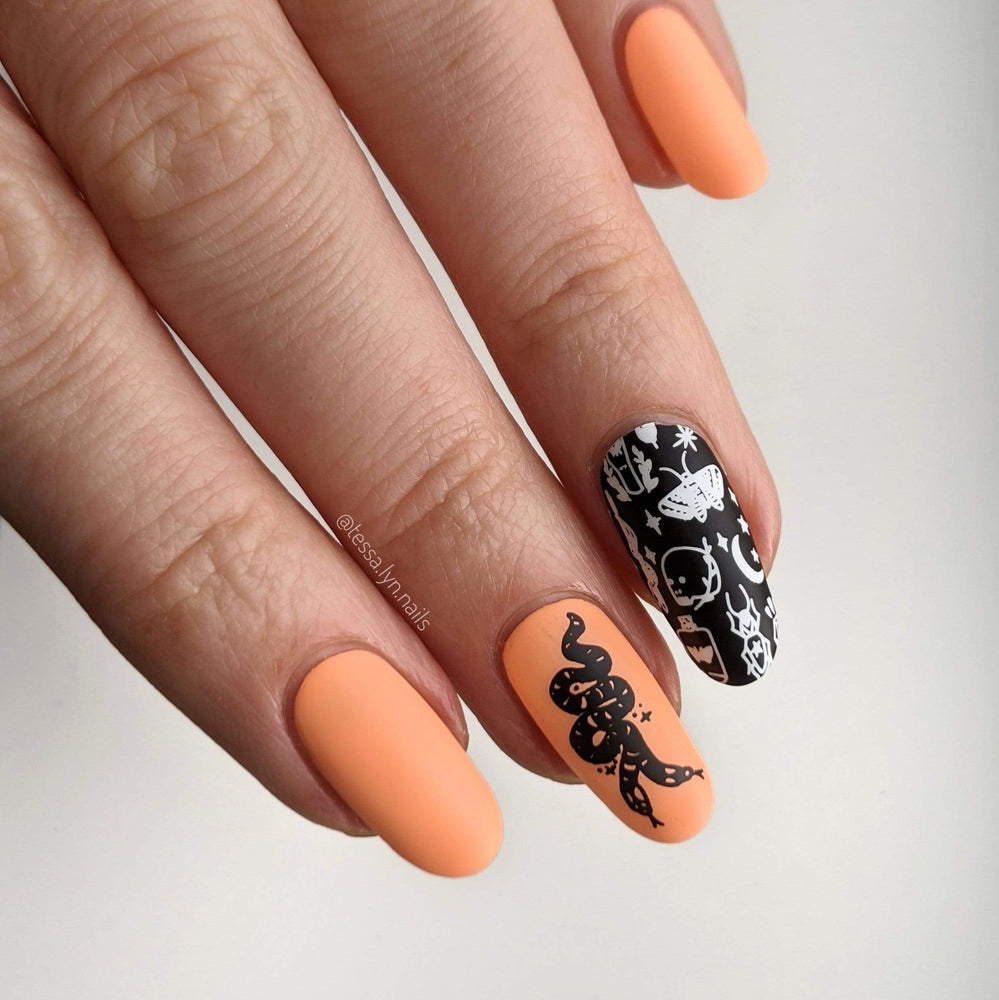
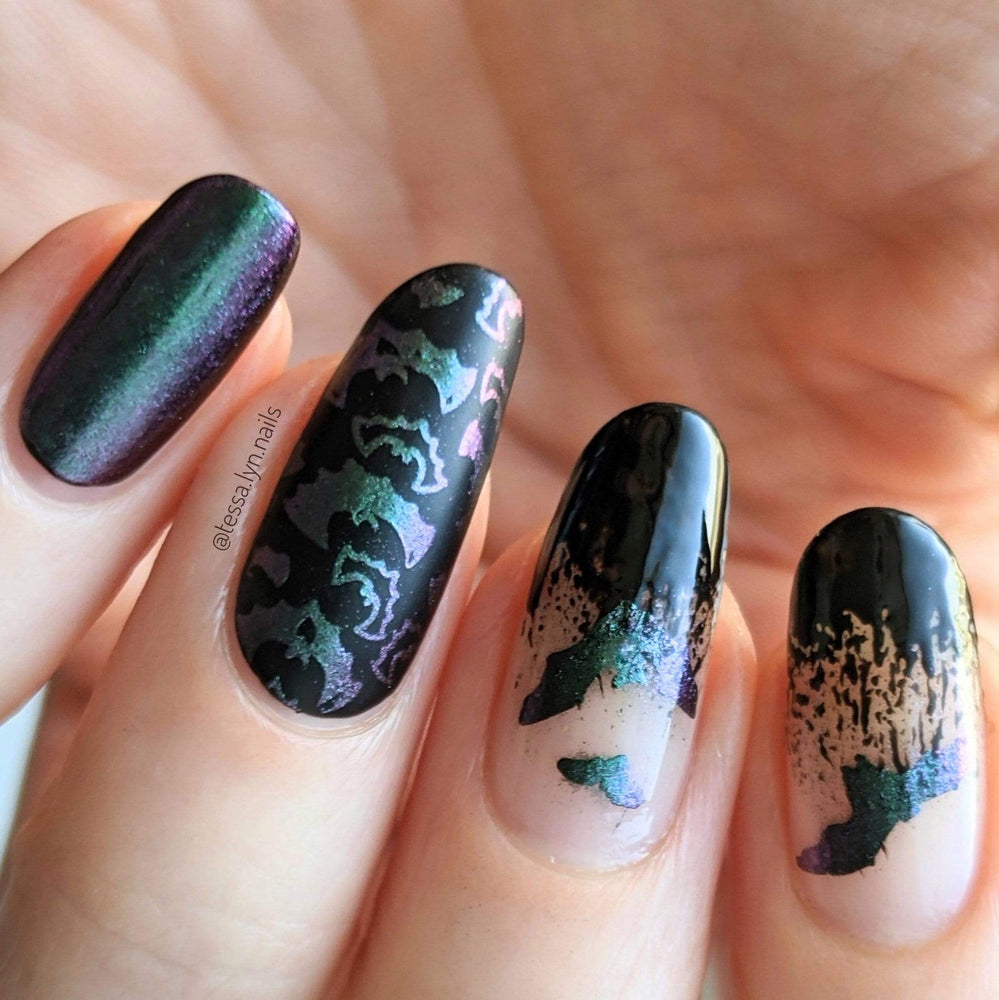
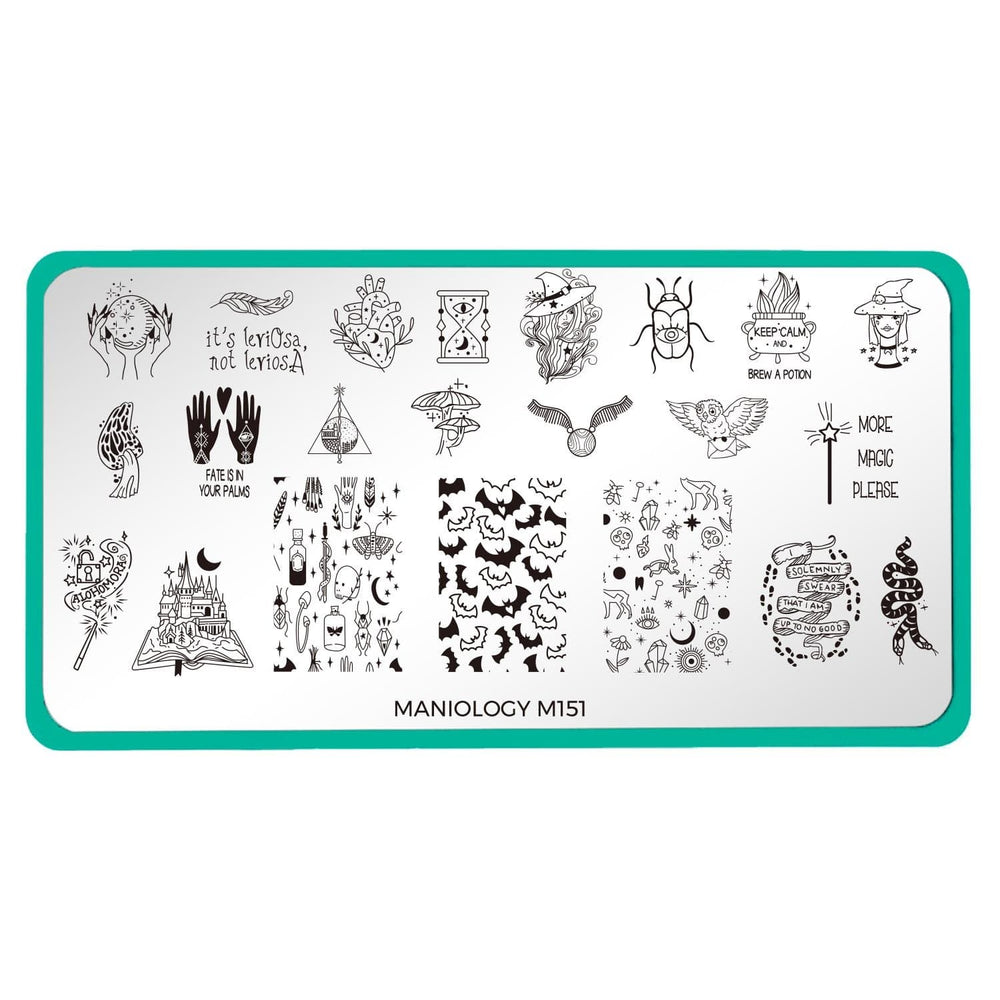
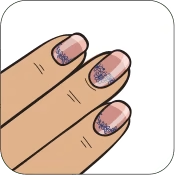
Welcome to Potions 101. Today, we're conjuring up magical manicures of your own design. Summon your creativity with bats, cauldrons, spellbooks, crystal balls, and even more enchanting designs for the budding witch within. Take a page from transfiguration class and watch as your nails transform beautifully with a simple scrape, stamp, and swoon.
- BREW-TIFUL: Feel the power in your fingertips with these bewitching nail art designs.
- ENDLESS CREATIVITY: The nail art possibilities are endless with just one nail stamping plate and your favorite polishes!
- EASY AF: Stamping is simple! Just scrape, stamp, and swoon your way to a beautiful new manicure.
- BIGGER IS BETTER: This XL stamping plate (4.75x2.4in) features a huge variety of images for you to create with.
- GET INSPIRED: Check out our Nail Academy or join us on Facebook, Instagram, and YouTube for tips, tricks, and inspiration.
"5 simple steps" for nail stamping
1

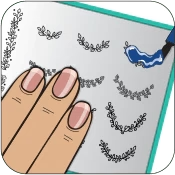
Apply a generous amount of stamping polish onto a design.
2
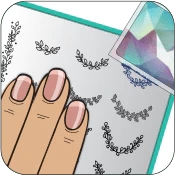
Scape off excess polish with the scraper card at a 45 degree angle.
3
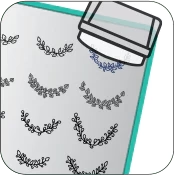
Quickly, roll the stamper with a swift motion to pick up the design.
4
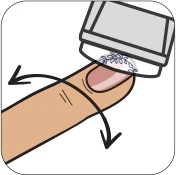
Press and stamp the design onto your nail.
5
Finish with a layer of Smudge Free Top Coat and you're done!