


It Starts With a Kit
Meet the Nail Stamping Starter Kit, your key to limitless nail designs at your fingertips. Our kit is designed for beginners and includes everything you need for easy nail art success.


Clusters of stars, paper airplanes, and polka dot designs are great for timeless, simple manicures.
Simply Classic Nail Stamping Starter Kit with Blue Polish is backordered and will ship as soon as it is back in stock.


Explore the wonders of the cosmic and embrace the aesthetic appeal of crystals.
Crystal Galaxy: Space-Themed Nail Stamping Starter Kit is backordered and will ship as soon as it is back in stock.


Free your mind with Moroccan style mosaic designs and flirty, bohemian fringes.
Fringe Forever: Bohemian Style Nail Stamping Starter Kit is backordered and will ship as soon as it is back in stock.
Browse All Starter Kits
View all-

-

Beachcomber: Nail Stamping Starter Kit
$1200$2500Unit price /Unavailable -
-
-
-
-
-
-
-
-
-


-
![]()
Free Education with Devon + Tiana
Master the art of nail stamping with the help of our Nail Educators, Devon and Tiana with free live streams, along with on-demand manicure tutorial videos, and more nail education resources.
-
![]()
Join the Nail Art Community
With 28,000+ worldwide members in the Official Maniology Facebook Group, you're just a click away from endless inspiration, insider tips, and a 24/7 support squad.
-
![]()
Ask Us Anything
We pride ourselves on quality customer support. Have a question or not sure how something works? Ask us! support@maniology.com


Let customers speak for us
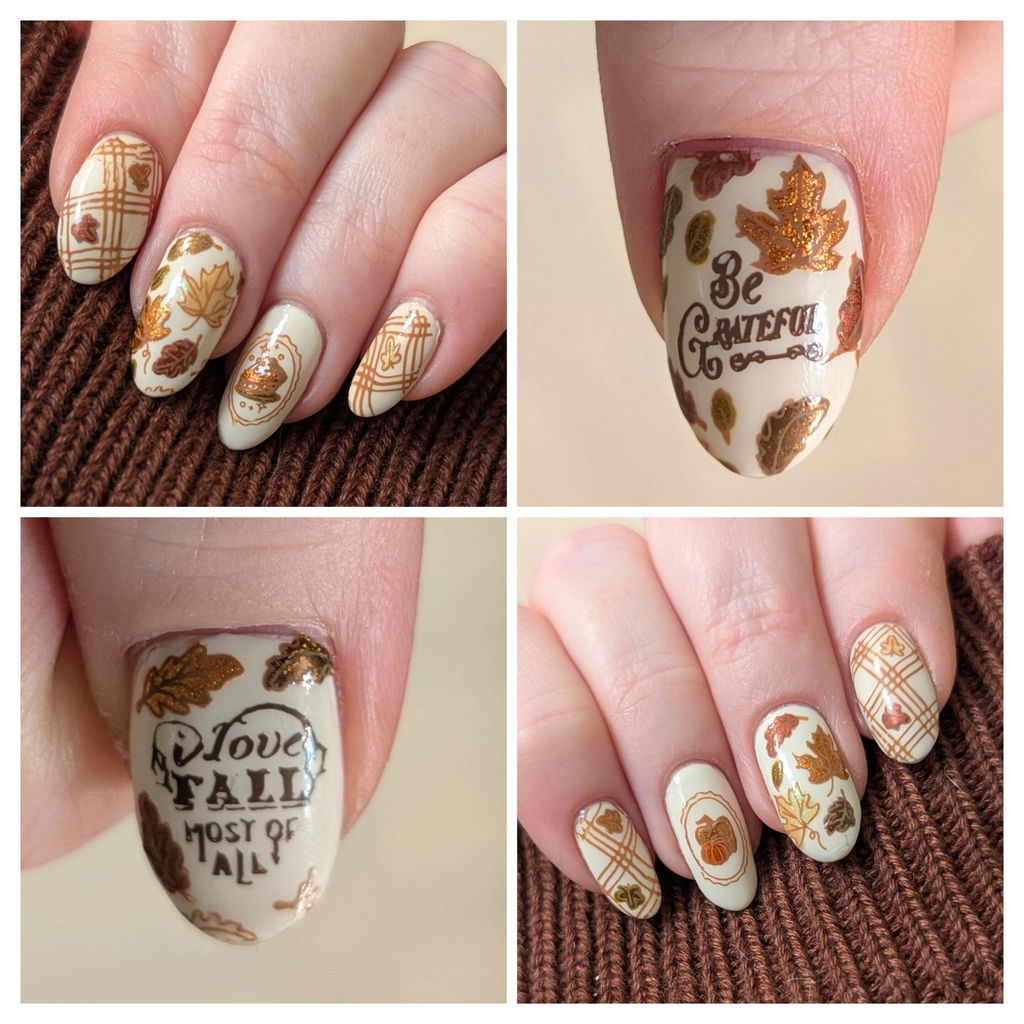
This is probably my favorite plate so far! I've used it for two fall manis so far. Everything picks up easily, there are plenty of images to use, and they all look great together.
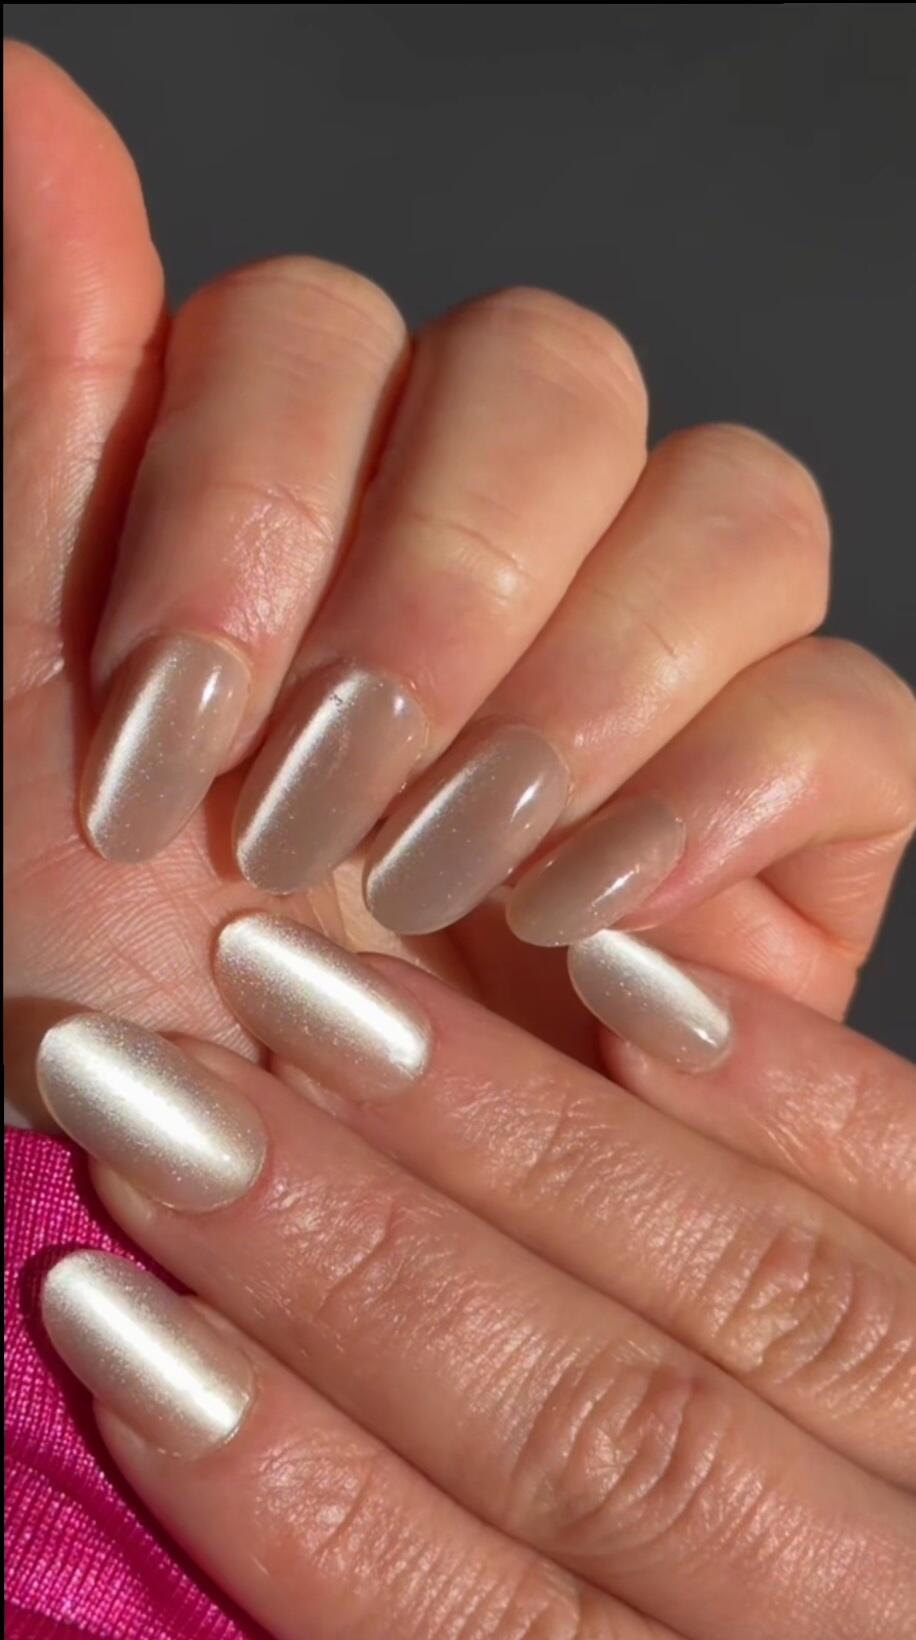
Good quality, elevates your look giving it elegance and comfort, very durable.
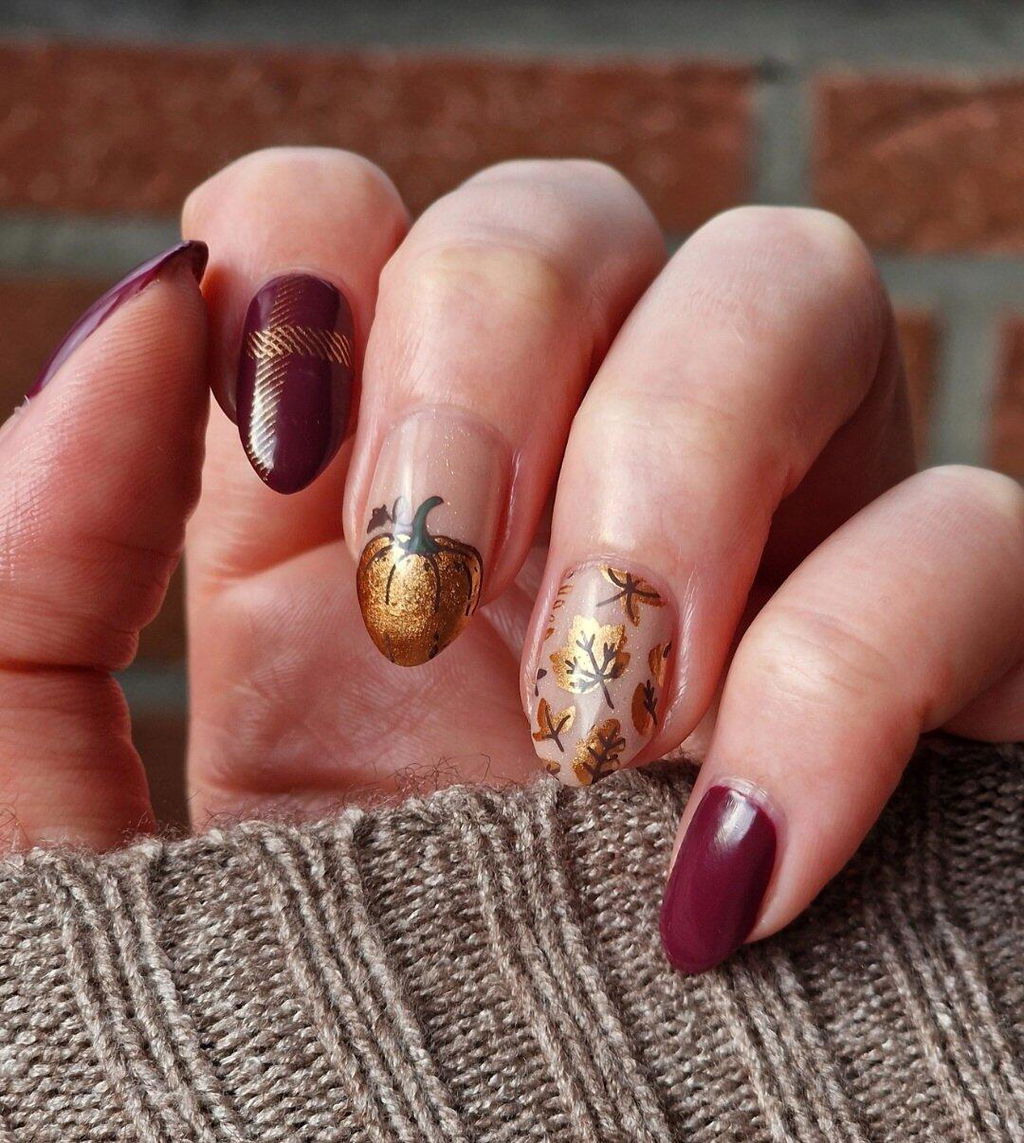
I was a little hesitant to use this polish, since orange is such a bold colour. Don't do the same mistake! It's the perfect balance of orange and a coppery gold. The finish is beautiful.
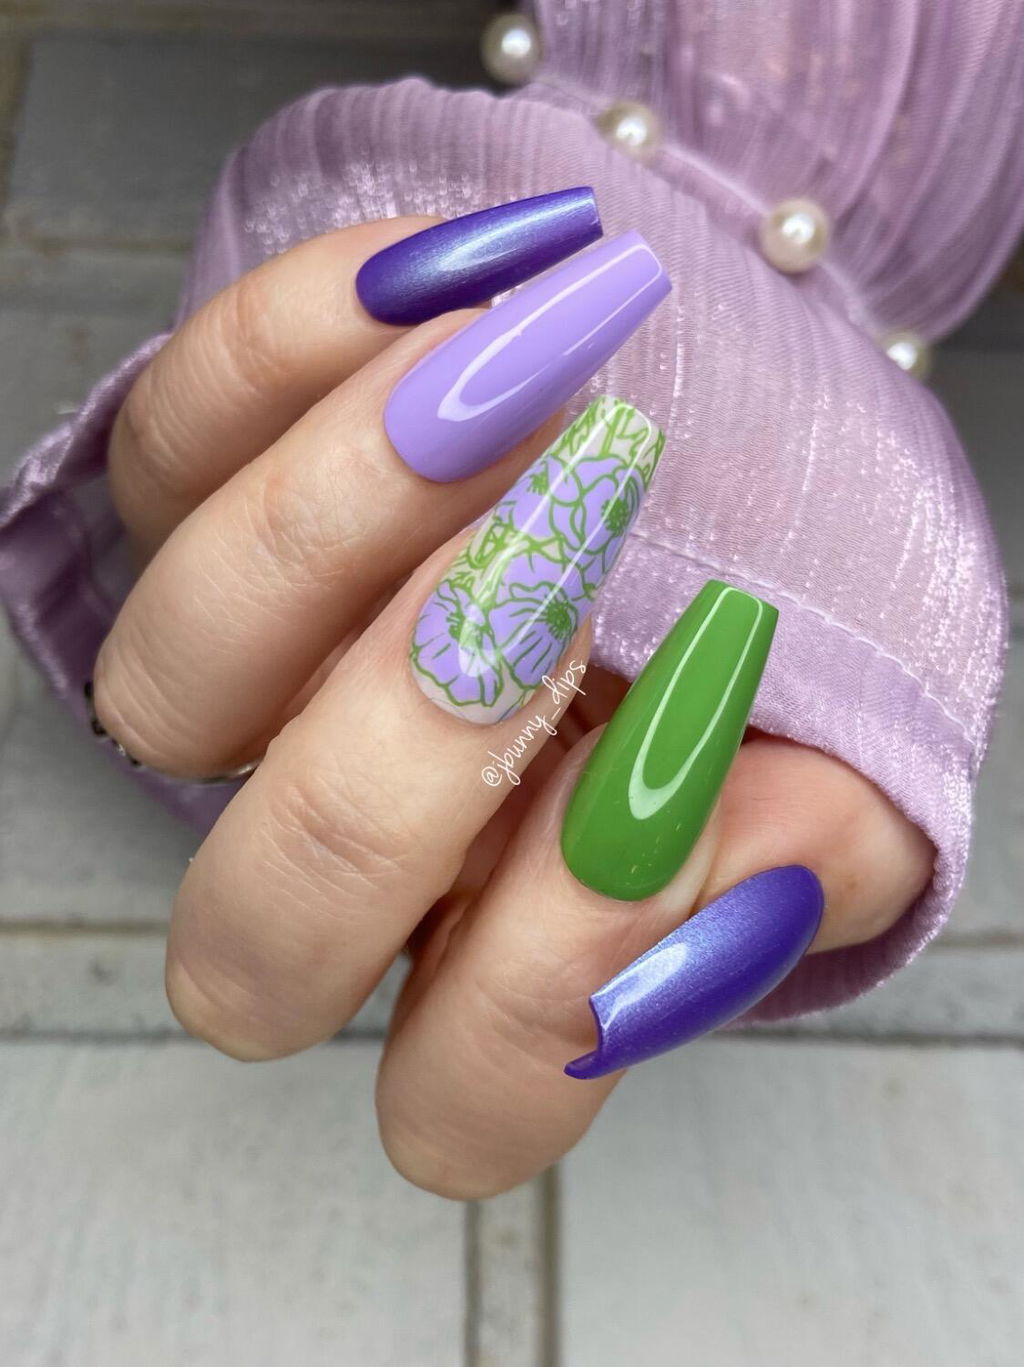
I love this plate. So good for reverse stamping! Makes me ready for spring. #maniologygifted
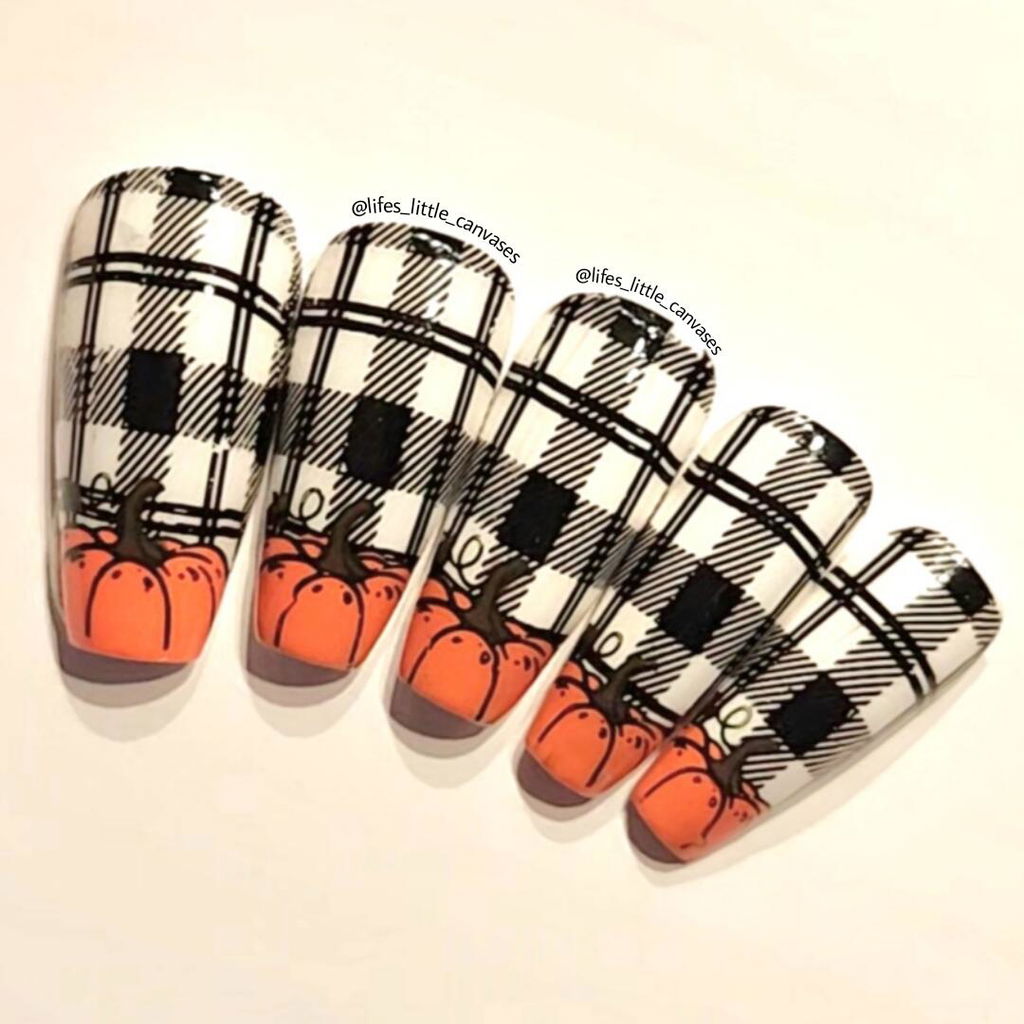
Love all the pumpkin and jack o lantern images. So many options for this great plate
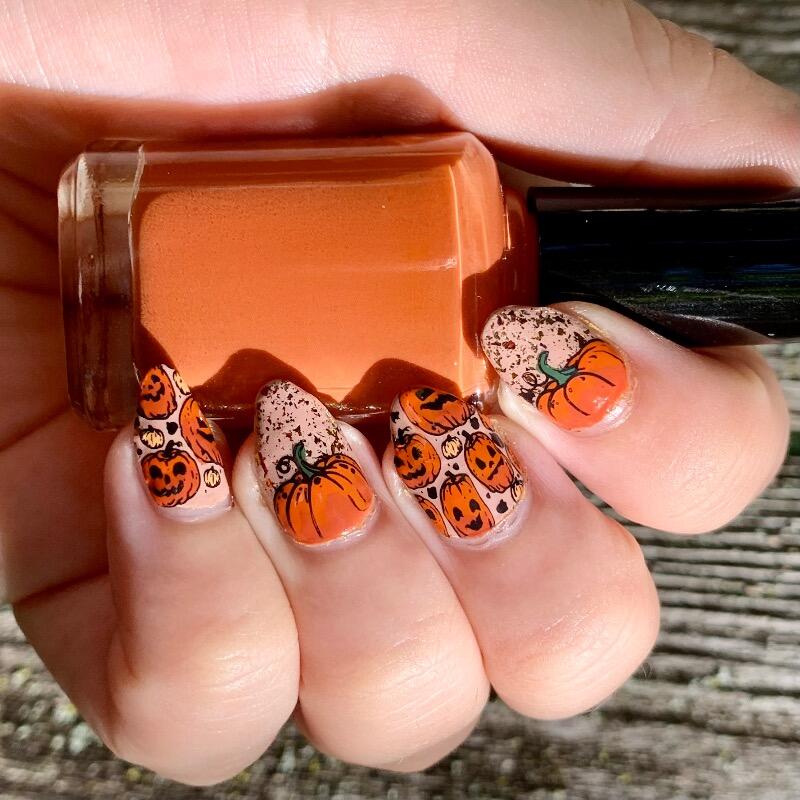
I can see why this plate sold out so quickly! It’s the perfect pumpkin plate! There are a wide variety of pumpkin styles and even some Jack-o-lantern faces. I think this is a must in anyone’s Halloween/fall plate collection
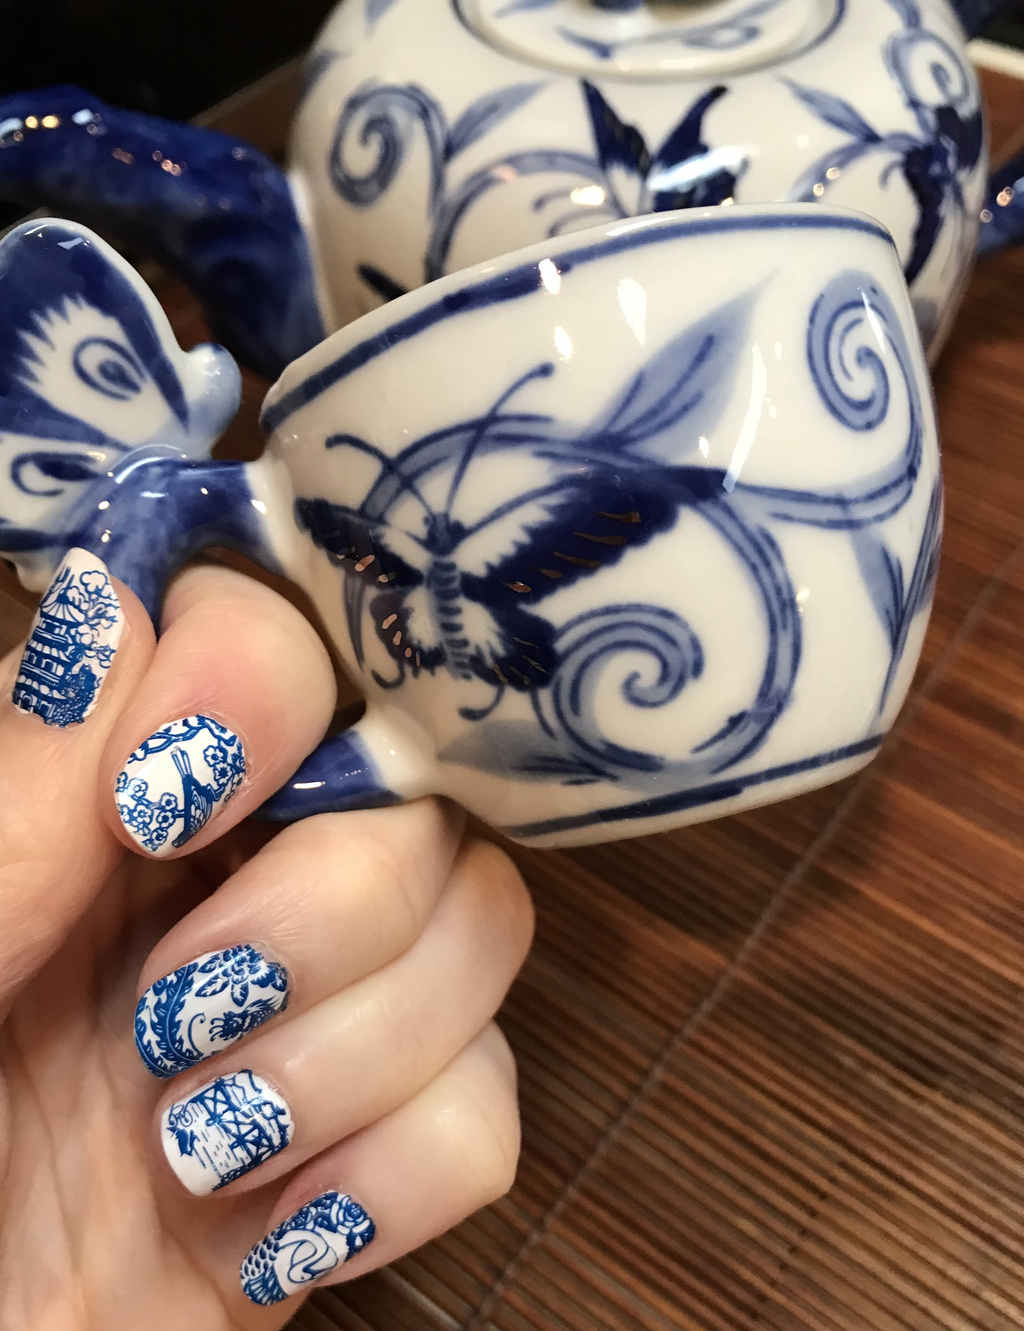
This is a stunningly beautiful plate with perfect image pick up. Royal Blue and Bam White is all you need and you have a beautiful mani that takes no time at all to do. I've gotten so many compliments on this manicure and I adore looking at my nails when I deck my nails out with this plate.

The quality of this plate is excellent. The images are great for a cute Halloween manicure. It does take a little experience to be able to pick up some of the images.
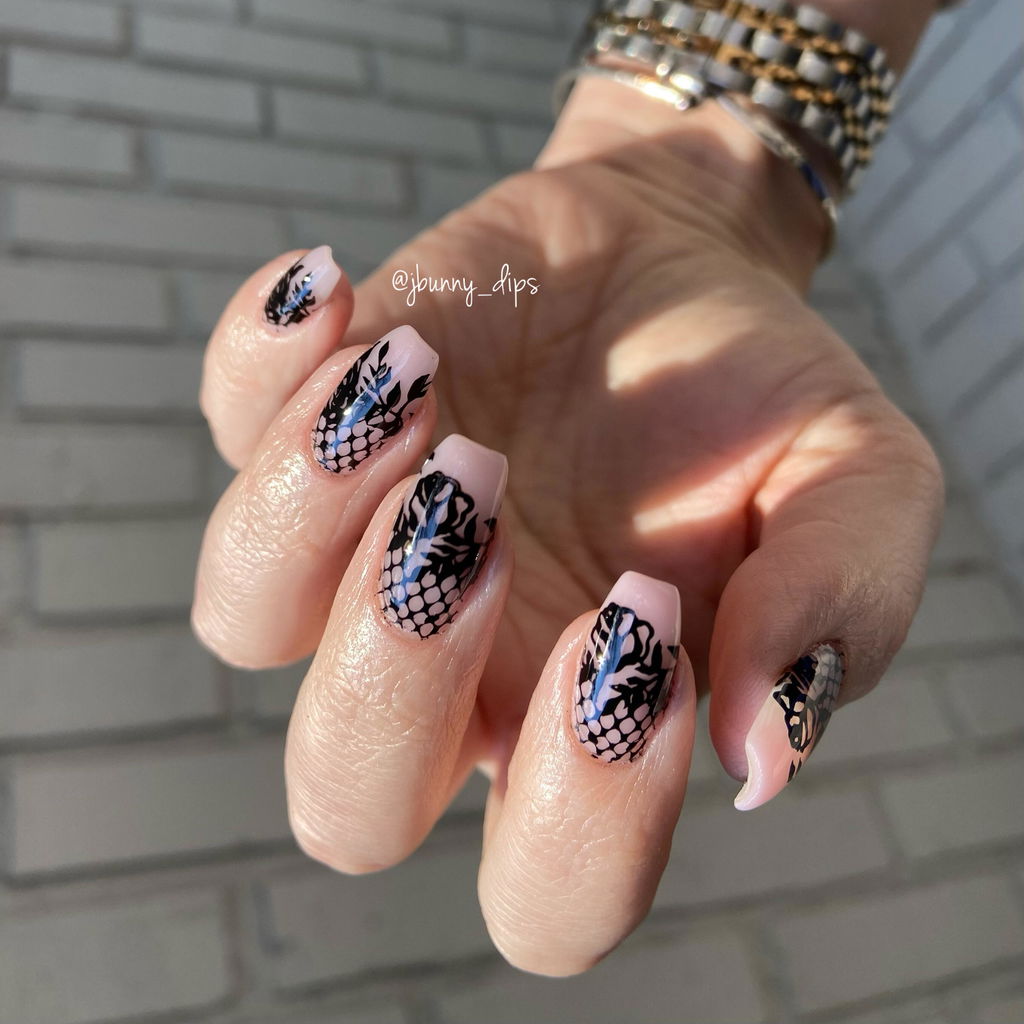
I’m loving this lace!! It’s a super romantic look with Valentines right around the corner 🖤
🖤 Polish: Straight Up Black
#maniologygifted

I got this plate to have more fall options but didn't really think of it as "top tier." But I've used it way more than expected! I really like it and they pick up well. If anyone is having a particularly hard time picking this one up, a good tip is to try a different stamper. If the one you're using is super squishy, a firmer stamper might do the trick.
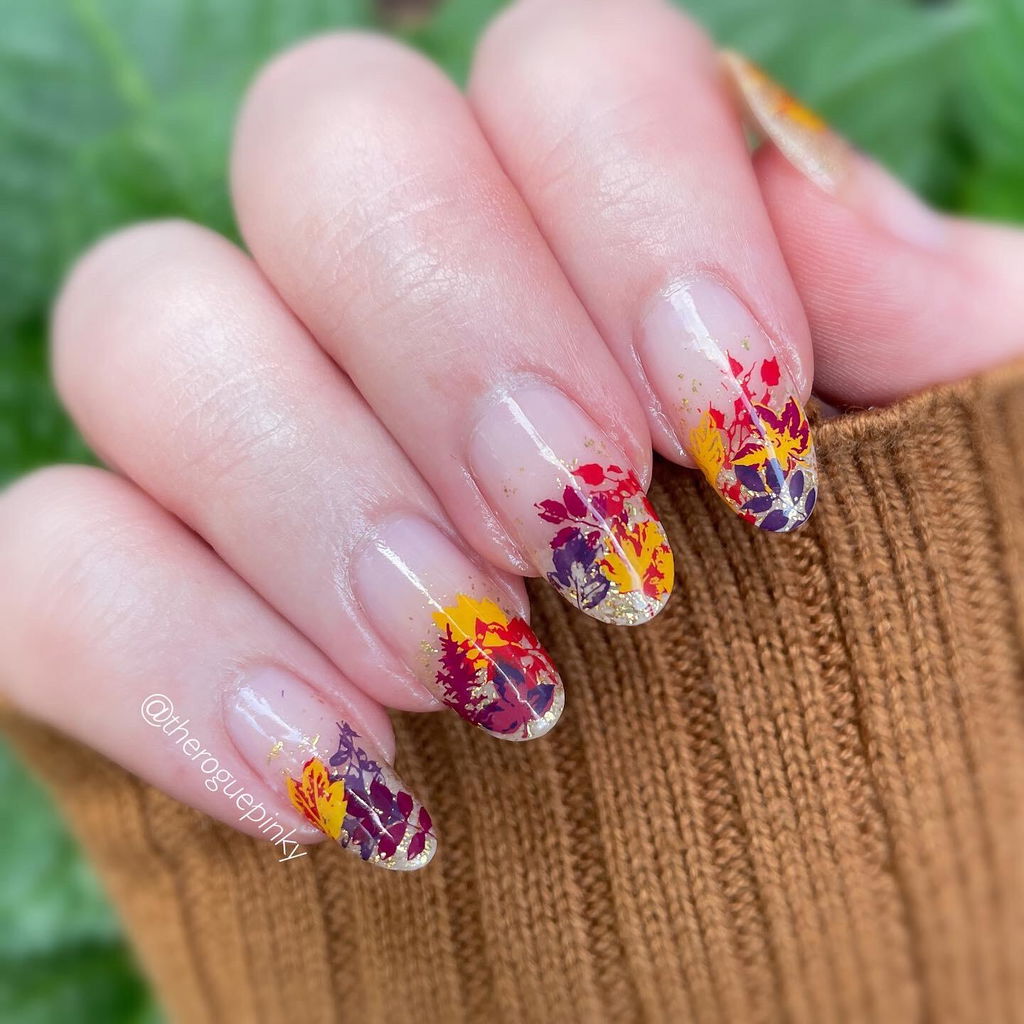
This plate is absolute perfection for my pseudo fall French mani! It was super easy to use and the layered images are gorgeous :) Definitely my fall go to!

Gotta say, the Halloween plates are always my favorite. These are no exception. I love that you can customize the ghosts! And they are so detailed! I'm not at all a pro nail artist, just an enthusiast, but these plates are so easy to use that at least it looks like I know what I'm doing! Happy haunting!
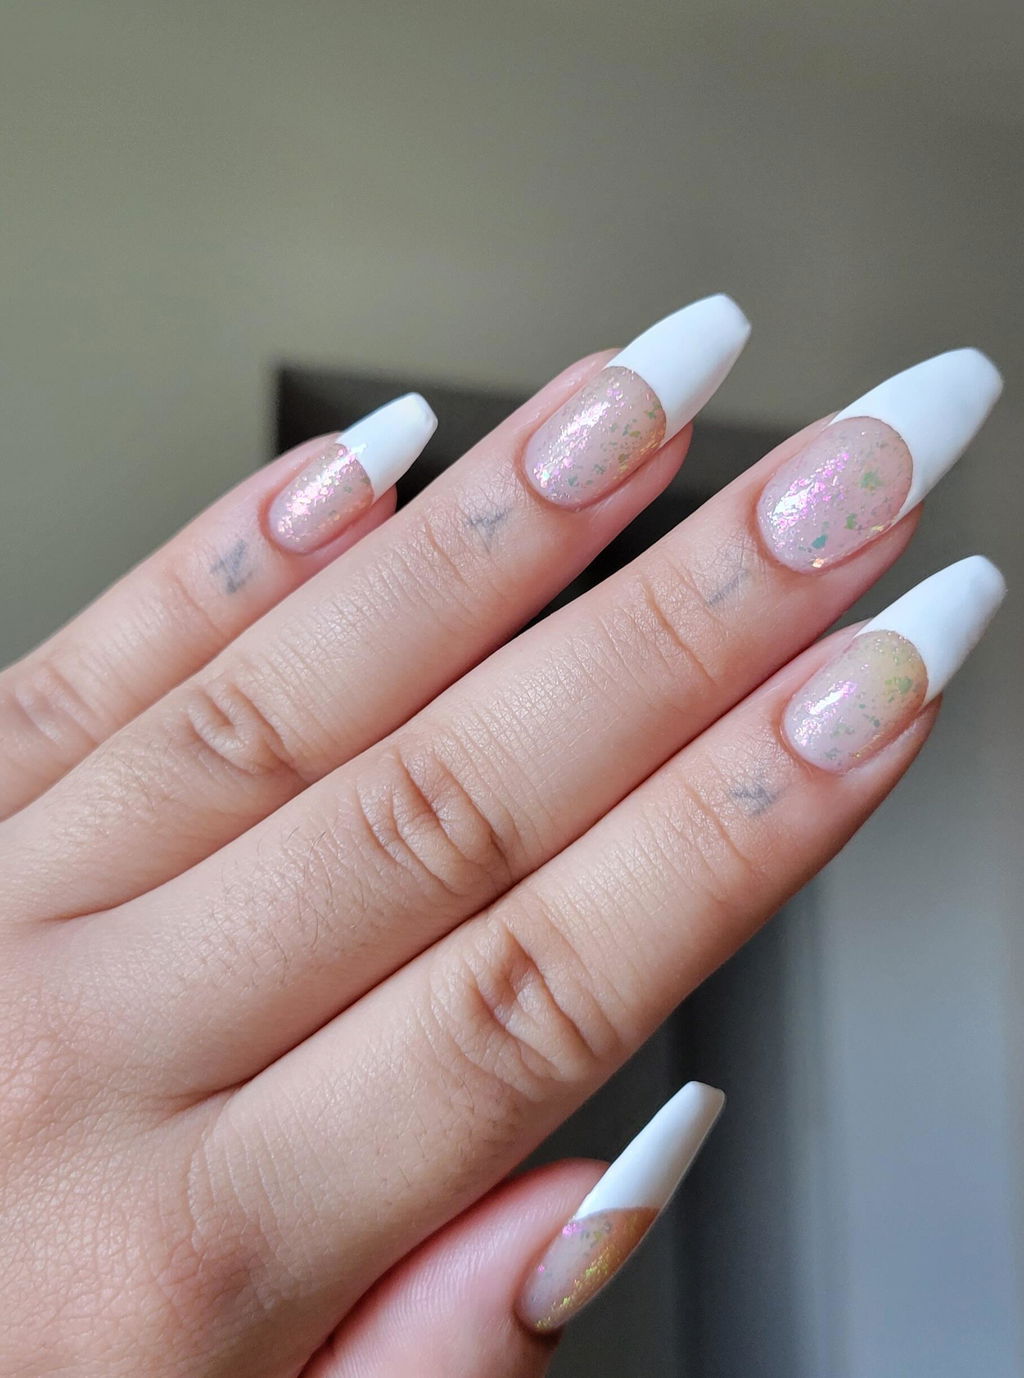
This plate makes frenchies so easy. Depending on the length of your nails you may have to go in and add a little polish to the tips, but still worth it

Excellent. Not my first time buying these. I use them all the time, right before my gel top coat to make sure there's no smudge

This plate is freaking fantastic. I’m in Love with the endless possibilities.
What customers think about the store
Specializes in nail stamping products with high-quality plates, polishes, and tools. Customers praise vibrant colors, smooth formulas, crisp designs, and easy pickup. Monthly subscription boxes offer variety and value. Excellent customer service with fast ship...
AI-generated from customer reviews.
Do you have any tips before I get started?
Do you have any tips before I get started?
Here are some simple tips we can offer for a stamping beginner:
- All plates come with a tight, protective blue film. This film ensures that your plate arrives unscratched or undamaged during the shipping process. The film needs to be removed before any stamping can begin.
- Gently remove the stamper head from the holder and wash it with gentle dish soap, warm water, and your hand. This makes sure any oily residue or debris is removed from the surface. Pat dry with a paper towel and carefully insert the head back into the stamper holder.
- The KEY to stamping is to work quickly. Make sure your creative workspace is prepped and ready with all tools cleaned and on hand before applying your stamping polish to your nail plate.
- Do not work in a space with extreme lighting or with fans/air conditioners pointing directly at the plate. This will cause the polish to dry even quicker and will also hinder a good image pick-up.
- Scrape 1-2 times at most to prevent the polish from drying on the nail plate.
- On designs with more etched areas, use a lighter hand when scraping not to scrape out too much polish from the design.
- Roll the stamper quickly but gently over the design for the perfect pickup! One of the biggest issues we see with partial pick up or no pick up is due to pressing too hard or too long on the stamper.
- When the design is transferred onto the nail, gently pat down any parts of the design that is lifting off from the nail to secure the design on the nail.
Watch our easy-to-follow Do's and Don'ts guide
Should I clean my nail plate after each stamp?
Should I clean my nail plate after each stamp?
Yes. For best results, we recommend using 100% acetone as it will remove the polish and clean the plate without leaving any residue on the surface. We recommend using a cotton grabber tool, a nail art tweezer, or even clothes pin if you are in a pinch, to hold your cotton pad soaked with acetone to clean your plate so you don't accidentallly ruin your beautiful manicure while cleaning!
Maniology Pineapple Cotton Grabber
Stainless Steel Nail Art Pincher Tweezers Tool
What is a nail stamping plate made of? Is it reusable?
What is a nail stamping plate made of? Is it reusable?
Our nail stamping plates are made from high-quality stainless steel, which allows the engraved designs to stay crisp and durable over time. And yes—they’re completely reusable!
Simply clean the plate with 100% acetone between uses to keep the etched grooves free of leftover polish. With proper care, a stamping plate can last for years and deliver endless manicures.
What is stamping polish?
What is stamping polish?
Stamping polish is an air-dry polish formulated for stamping. The polish formula is thicker and has much more pigment, drying quickly. This allows the design to POP over your base polish when you stamp. They are not gel polish, and does not require a lamp to cure.
Our stamping polishes are also dual-purpose, so you can use it as a base color as well. Due to the difference in consistency in comparison to regular polishes, we recommend applying in 2 thin coats even though most of our polishes are opaque in 1 coat.
Can I stamp with regular polish?
Can I stamp with regular polish?
Yes and no. The main difference between stamping polish and regular nail polish is that stamping polish is usually thicker and is packed with pigment. Some regular polishes will work for stamping, but the results will vary, depending on the opacity. Try with regular polishes that are opaque in 1 coat, and they should work. Avoid sheer, glitter, or any specialty finishes as they will not work well.
Tip: Older nail polish tends to thicken up over time, use your old nail polish for stamping.
I purchased a starter kit and I can't get the clear stamper to work!
I purchased a starter kit and I can't get the clear stamper to work!
If this is your first time using a clear stamper, it takes a slightly different technique than a regular solid rubber or silicone stamper. Please follow our checklist below to troubleshoot!
- Clean the stamper head gently with dish soap and water, dab dry with a paper towel. You can clean the stamper in between uses with scotch tape or a lint roller for easy cleanup.
- Use a quick light rolling action when picking up the design from the plate, just barely touching the plate. The MOST common issue we see is pressing too hard or too long. Use a light touch, just a flick of the wrist!
- Make sure there are no fans or A/C creating a direct draft toward your workstation. It can dry out the polish quicker.
- Play around with pressures and rolling movements to find what works for you.
- Clean the plate with 100% acetone only after EVERY attempt. Other types of remover will not clean the plate properly leaving behind residue that will affect your results. So none of those "nourishing nail polish remover" stuff.
Here's a video on the Dos and Don'ts of using a clear stamper:
Can I use stamping on top of my gel/dip/acrylic manicure?
Can I use stamping on top of my gel/dip/acrylic manicure?
Absolutely! Nail stamping works beautifully over any completed manicure, whether you do gel, dip powder, or acrylic. After you stamp your design, allow a brief moment for the image to dry, then seal everything with our Smudge Free topcoat or your favorite gel top coat for extended wear.