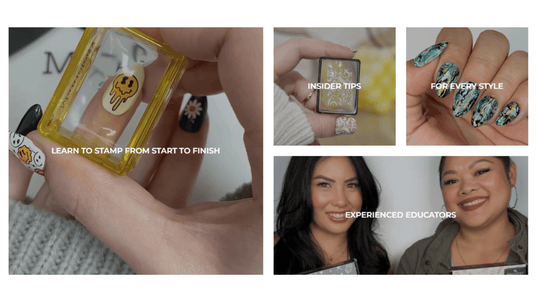
Trips to the nail salon can be time-consuming and inconvenient. That's why making nail decals at home is the way to go! DIY nail decals can give you a professional-quality manicure in seconds, giving you the freedom to express yourself without restrictions.
People Also Ask
- What kind of vinyl is used for nail decals? Adhesive vinyl is best for nail decals. Do not use heat transfer vinyl because applying heat to your nails can damage the natural nail.
- Can I print my own nail stickers? Yes! You can print your nail decals on water slide paper, which will allow you to apply your nail decals after briefly soaking them in water.
- What are nail decals made of? Nail decals are typically made out of ultra-thin, plastic-like film. They can usually be applied with adhesive. However, we have a unique technique that involves nail polish and nail stamping plates to make precise and intricate nail decals (keep reading!)
- Can you use Cricut to make nail decals? Yes! You can use a Cricut machine to make your nail decals. This will ensure your nail decals are precisely cut for a clean application.
Keep reading, and we'll tell you how to make your own nail decals at home.
See Related: 12 Red Christmas Nail Designs for a Chic Holiday!
How to Make Nail Decals
Most choose to make their own nail decals with adhesive vinyl, but that's not the only way to pull it off! If you don't want to spend time or money on printing, trimming, and sticking your nail decals, you can use your nail stamping plates instead.
This YouTube video above goes through this process step by step, but we'll lay it out. Let's start with collecting the tools and materials you'll need.
What You Need
- Silicone mat (Lotus Mat)
- Silicone stamper (Monocole Stamper & Scraper Card)
- Scraper card
- Sticky Base Coat
- Speed-Dry Top Coat
- Nail art brushes
- Nail stamping polish
- Nail stamping plate
Keep in mind that you can use any of our nail stamping polish or nail stamping plates to create your own nail decals. Choose any colors or designs that pique your interest! In the video, we used the "Botanicals: Moth Mosaic/Golden Afternoon" nail stamping plate, a plate filled with fruits, flowers, and insects for those free spirits and outdoor types.
Instructions
- Apply a thin layer of nail stamping polish over your selected design on the nail stamping plate.
- Hold your scraper card at a 45-degree angle and quickly but gently scrape the excess polish off of the selected design toward the edge of the plate.
- Immediately, use your silicone stamper to pick up the selected design in a smooth rolling motion.
- Stamp the selected design onto your silicone mat or any slick surface that will allow the nail polish to dry without sticking to the surface area.
- To add color or details to your design, use a thin nail art brush. Be careful not to overfill your design with nail polish. Repeat until your design is to your liking in terms of opaqueness and color.
- Wait for your design to fully dry.
- Apply a thin layer of the Speed-Dry Top Coat to fully cover the design. This will act as a supportive backing to keep the design together.
- Gently peel the design off of the silicone mat using tweezers.
- Apply the Sticky Base Coat to your nails as usual. Wait for it to dry and become tacky, about 30 seconds to 1 minute.
- Apply the decal to your nail. Use a clean silicone stamper to press down on the decal to ensure all the edges adhere to your nails.
- Apply a thin layer of the Speed-Dry Top Coat over the whole nail to help remove any air bubbles or edges.
Bonus: 10+ Blue Winter Nails That Will Freeze Your Boredom
The Bottom Line
Making your own nail stickers can be a fun way to take control of the creative process of nail art. You can use nail decals to decorate your nails, letting you enjoy intricate designs in an instant.
If you want to explore new methods for at-home nail art, try using nail stamping plates. Whether you want clean and classy French tips or something mystical and magical, you can have it all!
Keep Reading: 7 Gorgeous White Christmas Nails To Wear This Holiday Season
--
At Maniology, we believe your nails are opportunities for adventure, fun, and unrestrained artistic expression. Our nail stamping plates and nail accessories are here to help foster your self-expression in the hopes of building a community of individuality. For more nail tutorials, subscription box updates, and designs, follow us on Facebook, Instagram, Pinterest, TikTok, LinkedIn, and YouTube.


