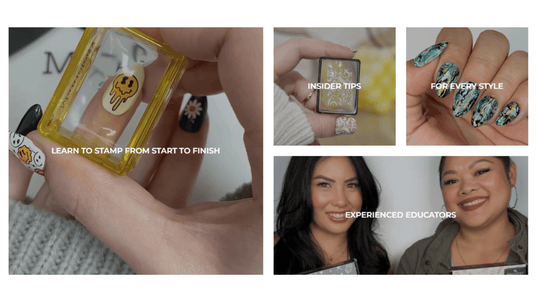
Reverse stamping is a technique that allows stamped images to have more depth and imagination mixing colors and designs all on one nail. However, how you arrive to the end result depends on which technique suites your preference. You're in luck because we're showing you 2 popular techniques on how to achieve the best reverse stamped design.
Technique #1: Using your Stamper Head
Instructions (Starts at 7:00)
1. (Using the stamping technique) pick up the design you'd like to paint.
2. Blot polish or polishes you're going to use to color in your design onto your Lotus Mat.
3. Using a detail brush, pick up the polish and color. Use a light dotting or dot and lightly dab technique to avoid smudging or re-wetting your already semi-dry stamped design.
⭐ Do not overfill your designs will polish. If after your first paint your design is not as opaque as you'd like, wait for the existing polish to dry to a tacky finish and repeat steps 2-3.
⭐ If you notice your the polish blots starting to get dry, chunky or stringy - add more polish. You want to paint with fresh, wet polish.
4. Continue steps 2-3 until the design is to your liking. Allow the stamped/reverse colored design is semi-dry or dry. While you wait, put on a cuticle protector, if you haven't already. (24:48)
5. Paint Sticky base coat to your nail and wait about 1 minute for the surface to get tacky.
6. Stamp your reverse colored design to your nail. Make sure the design is adhering to your nail by tapping on the parts that might the sticking up before moving on to step 8.
7. Using scissors, orange stick or cuticle nipper to trim the edges that are on the skin around the nail. This will help to make cuticle clean up much simpler and also allows all the excess design to come off as you remove your cuticle protector.
8. Clean your cuticles with 100% acetone and clean up brush.
9. Finish your design with a Smudge Free top coat.
Items Needed
Technique #2: Creating Stamped Decals
Instructions
1. (Using the stamping technique) pick up the design you'd like to paint. Stamp the design onto your Lotus Mat or any slick surface that will allow the polish to dry, but not stick to the surface area.
2. Blot the polish or polishes you're going to use to color in your design on your Lotus Mat.
3. Using a detail brush, pick up the polish and color. Use a light dotting or dot and lightly dab technique to avoid smudging or re-wetting your already semi-dry stamped design.
⭐RECOMMENDED TIP : Do not overfill your designs will polish. If after your first paint your design is not as opaque as you'd like, wait for the existing polish to dry to a tacky finish and repeat steps 2-3.
⭐ If you notice your the polish blots starting to get dry, chunky or stringy - add more polish. You want to paint with fresh, wet polish.
4. Continue steps 2-3 until the colored design is to your liking.
5. Wait for the decal to dry. Once your design is dry, apply Speed Dry top coat to cover the stamped design and wait for the top coat to dry. (At this stage, the top coat is acting like a supportive backing to keep all the parts of your design together allowing you to lift up the design from your mat.) Also, if you need to, put on your cuticle protector if you haven't already.
6. Apply your Sticky base coat to your nail and wait for the surface to get tacky, about 30 seconds - 1 minute.
7. Apply the decal to your nail. If the edges of your decal are still curling, use a clean stamper head to press over your design and nail until the edges make contact with your Sticky top coat.
8. You may see bubbles or dry edges and it's normal. Careful to not smudge your design, lightly float your Speed Dry top coat over the whole nail. This will help the edges or bubbles to melt and finish your manicure.
QUESTION: Why can't I use a Smudge Free top coat to create decals?
Our Maniology Smudge Free top coat formula is very thin. Regular/Stamping polish is delicate. The Smudge Free top coat formula is too brittle to lift the design off the Lotus Mat. By using a thick top coat, this helps to keep the design workable from lifting it off the mat to applying it to the nail in one piece.
Items Needed
I hope you enjoyed learning (and reading) about this technique. If you tried this out, we want to see your designs. Please share with them us at @hellomaniology on Instagram and Facebook.

