
Nail art is the key to self-expression and the foundation of self-care. Whether your DIY manicure involves embellishing your nails with dazzling rhinestones or a creamy white French manicure, there are many ways to showcase your creativity through nail art.
At a glance
- Use a stamping kit for effortlessly cool nail art designs
- Use a sponge to create perfectly blended ombre nails
- Use a bobby pin as a dotting tool
- Wrap your nails in acetone-soaked pads to remove glitter polish
- Use petroleum jelly to prevent nail polish bottles from dying shut
- Use cuticle oil to renew your at-home manicure
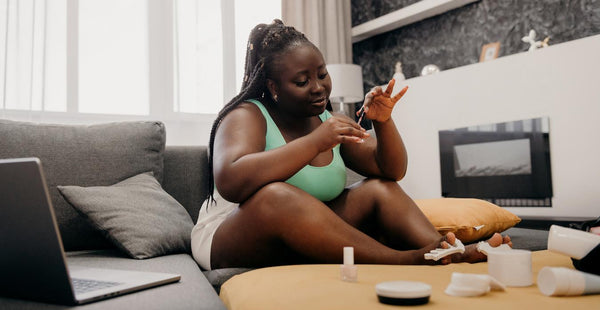
If your at-home manicure journey is just getting started, it can be daunting. The idea of free-handing intricate patterns and lush details can be overwhelming, even for experienced professionals.
That's why we put together a few tips and tricks to help you master your first DIY nail art. Keep reading!
See Related: 12 Valentine's Day Nail Ideas For 2024
#1. Use a stamping kit for effortlessly cool nail art designs
Though it's important to master the basics of nail care and nail art, the real fun begins when you can try your hand at the trendiest nail designs.
After all, it can get boring just painting the same single-colored coat of nail polish on your fingertips over and over and over again.
2024 is a year of big and bold nail looks. From floating French tips to beautiful bow nails, you deserve to enjoy any nail art design that piques your interest!
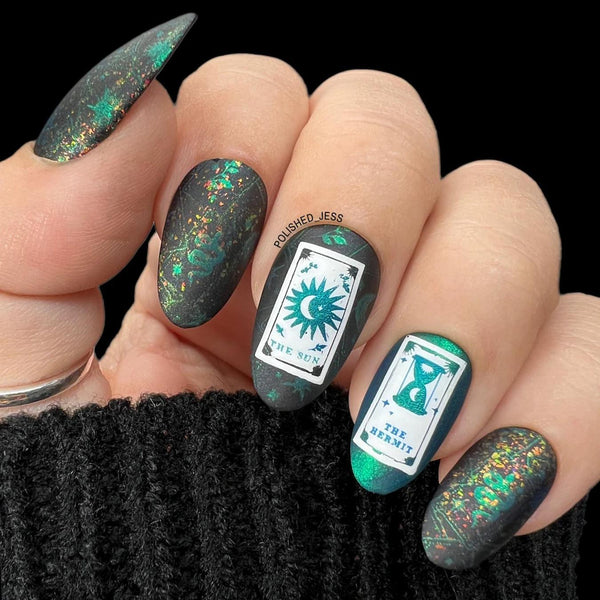
That's when stylish and innovative nail stamping plates come into the picture
Nail stamping plates let you recreate thousands of different designs on your nails in just a handful of straightforward steps.
So, instead of trying to freehand a Tarot card-inspired celestial manicure, you can simply copy and paste it right onto your fingertips.
It's really that easy!
From merry and bright holiday nails to a spooky and spectacular Halloween mani, there's a plate out there for any nail art look! Experiment with our groovy "Special FX" plate or our must-have "French Cloudscape" plate.
Your unique nail stamping plate will offer endless possibilities!
#2. Use a sponge to create perfectly blended ombre nails
If you've been longingly eyeing the ombre nail art looks that litter your Pinterest feed, it's time to treat yourself. In fact, recreating a perfectly blended ombre nail look is easier than it seems!
Simply grab your favorite nail polish colors and a sponge
After applying a base coat nail polish, paint your nails the lighter shade of your ombre color palette. It's best to opt for a creamy white or neutral nude in order to begin with a versatile base.
Then, apply your darker-colored polish to the edge of a makeup sponge. Use it to blot the color onto the tips of your fingers, gently fading it downward to the base of your nails.
Only a dab of polish is needed as too much will oversaturate your entire nail design.
If you blend two or more colors across the space of the makeup brush, you can create some unique gradient nails.
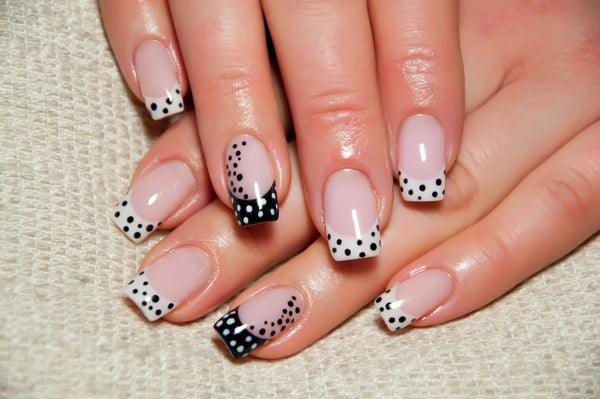
#3. Use a bobby pin as a dotting tool
You don't need to invest in salon-quality tools in order to recreate trendy nail designs. If you want to adorn your nails with fun polka dots, all you need is some bobby pins or an extra toothpick.
Bonus: 12 Short Almond Nails To Consider For Your Next Mani
Simply pour a bit of excess polish onto a flat surface, and dip the tip of your bobby pin in. Then, use your makeshift tool to make tiny dots on your nails to create patterns.
Avoid using a cotton swab, as these can leave behind fuzzy hairs that will undoubtedly ruin your look.
After letting it dry completely, apply a clear top coat over your whole nail to seal in your DIY design.
#4. Wrap your nails in acetone-soaked pads to remove glitter polish
Though bedazzled and glittery nails can easily steal the show, their allure can wear off when it's time to remove the polish.
Sparkle nail polish is notoriously tricky to take off, and even the best of us can struggle with restoring our natural nail beds after a glitter frenzy.
Nail polish remover is a must-have when removing sparkle polish
Simply wiping your nails with a touch of nail polish remover isn't enough to save your natural nails from the clutches of glitter polish.
What you'll need to do is soak a cotton ball with some acetone polish remover and place it on your nails. Then, wrap your nails in foil and let them sit for about 10 minutes.
Once you take off your dressings, it should be easy to remove sparkle nail polish.
For a truly sparkling DIY manicure, you can use our glittering "Gleam" nail polish.

Even though it's loaded with silver metallic and rainbow holographic glitteries, it's not that hard to remove when it comes time.
It's five-free and will help you embrace your natural glow!
#5. Use petroleum jelly to prevent nail polish bottles from dying shut
There's nothing more heartbreaking than reaching for your favorite nail polish just for the top to be totally welded to the bottle.
Before twisting your polish bottles shut, take a dab of petroleum jelly or Vaseline and apply it around the top of the nail polish bottle.
#6. Use cuticle oil to renew your at-home manicure
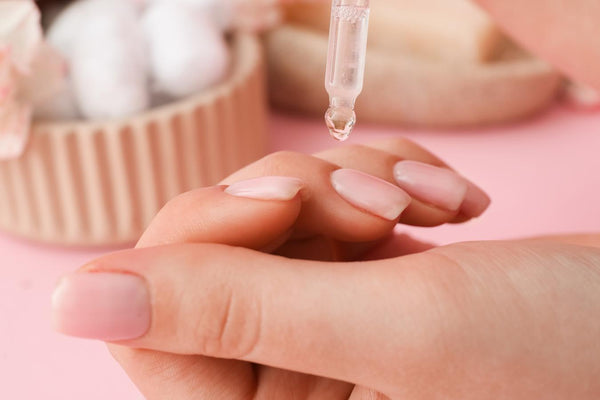
If your nails are starting to look a bit worse for wear, you don't need to completely redo your nail art.
Though it would be fun to recreate any number of nail designs with a stamping kit, sometimes all it takes to renew your mani is a bit of cuticle oil.
Simply massage a few drops of your favorite oil around your cuticles, and they'll instantly look refreshed. Plus, cuticle oil will help moisturize your skin and keep your fingers soft.
Final thoughts
You don't need to be a trained nail artist in order to indulge in crafty techniques and beautiful designs.
With your favorite polishes on hand and a few nail art tips up your sleeve, there's no reason why you can't transform your nails from boring to dazzling!
Keep Reading: How To Get A Perfect French Manicure At Home
--
At Maniology, we believe your nails are opportunities for adventure, fun, and unrestrained artistic expression. Our nail stamping plates and nail accessories are here to help foster your self-expression in the hopes of building a community of individuality. For more nail tutorials, subscription box updates, and designs, follow us on Facebook, Instagram, Pinterest, TikTok, LinkedIn, and YouTube.
