Do you like to switch between your natural nails and dazzling designs? If you don't like the commitment that comes with nail polish, then press-on nails might be for you.
These easy-to-apply tips make it easy to change your manicure as you see fit. However, their removal isn't nearly as effortless.
At a Glance
- Gather Your Materials
- File Your Nails
- Soak Your Nails With Acetone
- Loosen the Press-On Nails With a Wooden Stick
- Remove Leftover Adhesive or Glue
- Give Your Natural Nails Some TLC
Taking off press-on nails isn't the walk in the park you might believe. If you've ever tried just ripping them off in frustration, you've likely been left with damaged and shredded nails.
Keep reading, and we'll tell you exactly how you can remove those stubborn press-on nails at home without hurting your natural nails.
See Related: 8 Classy And Modern Ways To Wear Short Black Nails
#1. Gather Your Materials
If you haven't already, you've likely contemplated simply pulling off your press-ons with your bare hands. Not only is this pretty painful, but it can wreck your natural nail beds and leave you with long-lasting damage.
You can't go into it empty-handed. You need to gather the necessary materials beforehand to make sure you can go about removing press-on nails properly.
Here's what you'll need:
- Nail clippers
- Nail file
- Nail buffer
- Cuticle pusher
- Cuticle oil
- Acetone
- A small glass or ceramic bowl
If you want to enjoy a seamless removal process, make sure to use good-quality glue or adhesive for your press-ons. This will help maintain your nail's natural strength and make taking them off much easier.
#2. File Your Nails
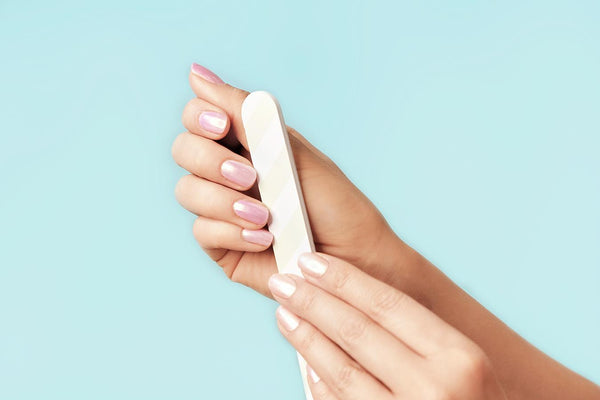
This step is optional. Many nail technicians recommend filing down your nail's surface before soaking them (even if you don't soak them, like if you're doing a Russian manicure). This creates a rough surface that the acetone can penetrate more easily.
#3. Soak Your Nails With Acetone Nail Polish Remover
This is the most important step in this process. Soaking your nails is what breaks down the glue binding your press-ons to your natural nails. It makes the press-on nails loose enough so that they can be safely and easily pulled off if they don't fall off on their own accord.
To do this, fill a small glass or ceramic bowl with acetone-based nail polish remover. Soak your nails in the bowl until you notice that the press-ons are loose enough. It should take roughly 15 minutes.
Time may vary depending on glue quality, amount, and countless other factors. It might take a while, but it's important to be patient. Soak them in five-minute intervals, and check them regularly. If you don't wait long enough, you risk damaging your natural nails.
Though acetone is better for nail glue, if you use a sticky adhesive backing, you should let your nails soak in warm, soapy water. This will loosen the adhesive.
#4. Loosen the Press-On Nails With a Wooden Stick
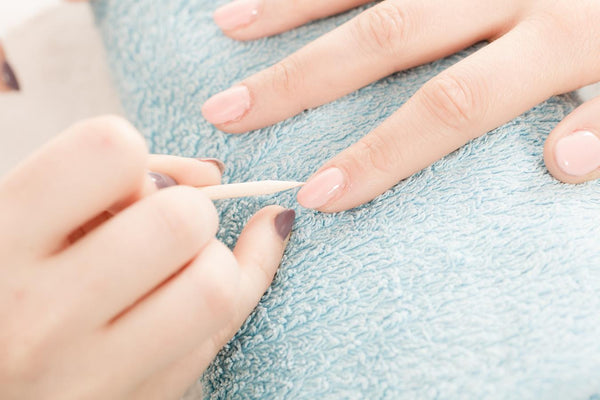
When the nail glue is loose, don't try peeling off your nails. You still need to move with precision to prevent damage to your nail beds. Instead, grab a wooden cuticle pusher and use it to gently peel your press-on nails away from your natural nails.
Again, be sure to take your time. Don't rush this crucial step! If you want to save your press-on nails to use again later, be sure to move even more carefully.
Start at the base of your nail. Use your orangewood stick to gently remove your press-ons by working your way to the tip of your nail. If you realize that your fake nails are still pretty stuck, try soaking your nails in acetone for a few more minutes.
Bonus: 13 Gorgeous Ombre Nail Designs To Try In 2024
#5. Remove Leftover Adhesive or Glue
Now that your press-on nails are safely removed, you might be left with some glue or adhesive stuck on your nails. Using your wooden cuticle pusher, gently remove any excess glue or remaining adhesive that was left behind.
You can also soak a cotton ball with acetone to try and remove the leftover glue. For any stubborn remains, try using a small buffing square to gently buff away any rough patches.
#6. Give Your Natural Nails Some TLC
By now, your natural nails should be restored. However, your nails aren't yet ready to be decorated with autumn-inspired designs or a creamy French tip. You need to give them a bit more love and affection first.
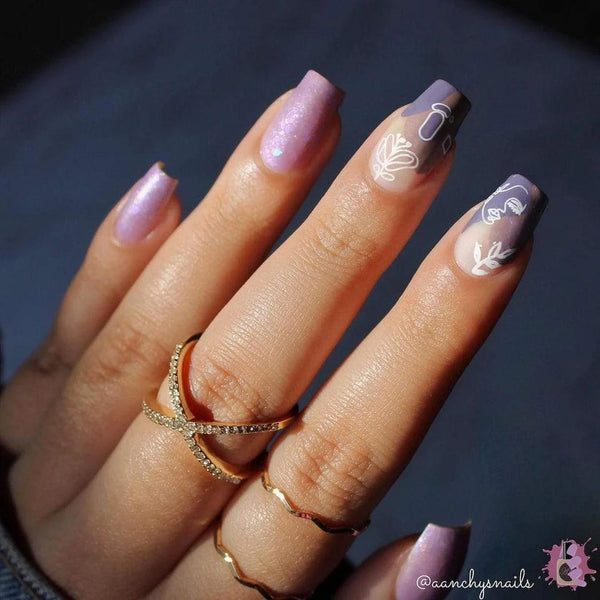
Clip and file your nails before pushing back your cuticles. Add a few drops of cuticle oil to hydrate your hands and nails. Lastly, a lotion can help restore radiant skin.
Press-ons aren't great for repeated use. Even if you follow proper removal methods, you might accidentally damage your natural nail bed. Though you might enjoy the length of fake stiletto nails, you can still rock short nails without press-on tips!
If you didn't properly remove your press-on nails, it's a good idea to wait a few days before reattaching your beautifully detailed press-ons. That way, they can rest and recover before getting dressed up again.
Though removing press-on nails is an important part of nail care, it's not the most exhilarating. The best part is decorating your press-ons with a design that reflects your personality and style! For more details on DIYing this creative process, check out our Maniology LIVE video below:
Keep Reading: The Best Cuticle Oils For Healthy Nails
--
At Maniology, we believe your nails are opportunities for adventure, fun, and unrestrained artistic expression. Our nail stamping plates and nail accessories are here to help foster your self-expression in the hopes of building a community of individuality. For more nail tutorials, subscription box updates, and designs, follow us on Facebook, Instagram, Pinterest, TikTok, LinkedIn, and YouTube.


